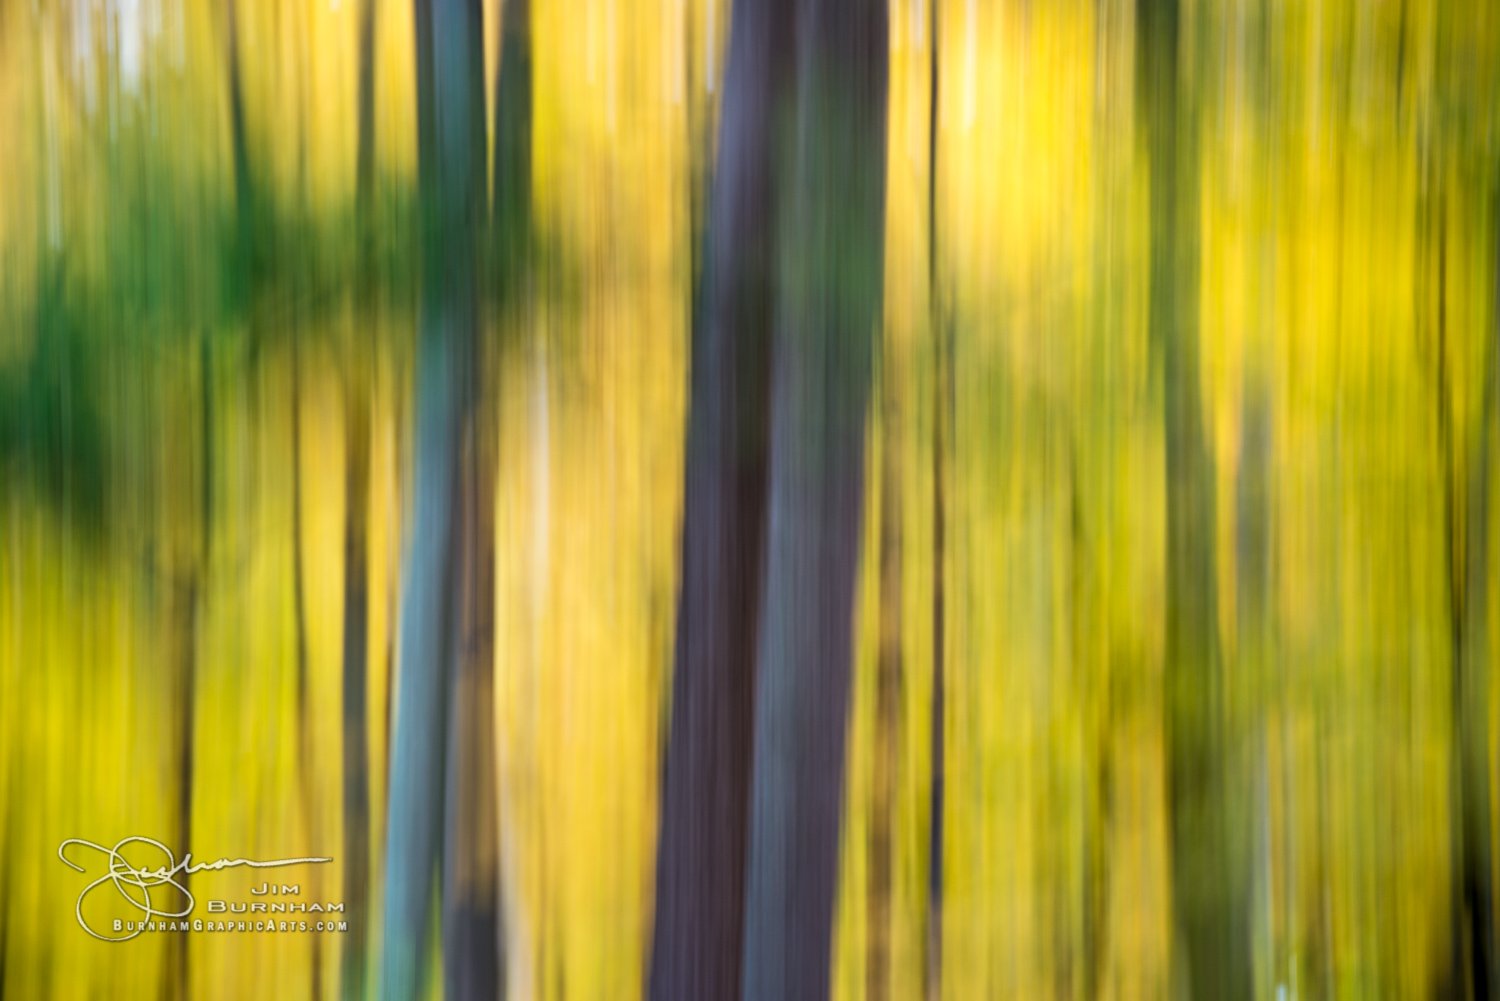
“Art is not a mirror held up to reality
but a hammer with which to shape it.”
-Bertolt Brecht

My name is Jim Burnham. I am a US photographer. Follow me on Instagram or Twitter -> @BurnhamArts
This Summer I found myself in a creative quagmire. The pandemic has altered what plans I had, big and small, and although I have been able to keep shooting in various new places, nothing has proven epic enough for a new Focus Trek story. What I have in the works is a mish-mash of past trips that combined fill the requirement for a new story. No individual trip seemed to stand on it’s own, but still provided me with images. I finished the copy for that, I am just starting to add the images.
There is no other way to put it. This pandemic has altered reality for me. I walk out my door and nothing seems right. Up is down, down is sideways. Plans were dashed and days bled into each other. A/C was on way more than I wanted because I was working from home so much (really, how is 76F too cold sometimes?). Even after returning to the office, nothing is right. I’m lost in a fog. The musak isn’t helping. I really don’t care to hear Parking Lot Party one more time. I swear I lose an IQ point every time this comes on.
‘Cause there ain’t no party like the pre-party
And after the party, the after-party
At the parking lot party
But, I can never hear “Smoke From a Distant Fire” enough.
And that mist in your eyes feels like rain on the fire in my soul. (cue sax)
But I digress. Here are some fun abstract techniques I’ve used occasionally to break the monotony. Each one of these is either a daytime long exposure or ultra-shallow depth of field. Both create a smooth bokeh background with small, in-focus elements, or a full blended blur across the image. I have not tried a combination of the two, but now that I thought about it, I will.
One thing to note, the camera ideally should be set to manual EVERYTHING, focus, shutter, aperture, ISO. It would not hurt to get used to M mode, it opens up a lot more creative options. Using shutter or aperture priority lets the camera pick exposure, and in these extreme examples, you’ll rarely get what you want. For a crash course in the exposure triangle, see Bryan Peterson’s exposure rundown in Popular Mechanics
Also, phone cameras are not ideal for shallow DOF photography. You will probably not be able to match the shallow DOF I show here due to the compact mechanics of the phone. You would need a separate lens to clamp on. However, you can probably do some long exposure wipes if you can manually set the shutter speed.
Shallow Depth Of Field Technique
This technique works well with macro shots where there are some complimentary colors or range of shadows if a single color. The trick is a very wide aperture (1.8-2.8), a very close placement of the lens to subject, but not a very wide focal length lens.

ISO400 50mm f1.8 1/90sec
The more telephoto is added the better, as the narrow band of focus is so razor thin, that everything to the front and to the back is blurred. The next two images are of the same plant, Purple Fountain Grass at Luthy Botanical Garden in Peoria, IL. I simply focused on the purple flower in the first, then closer to the center of the strand in the next one.
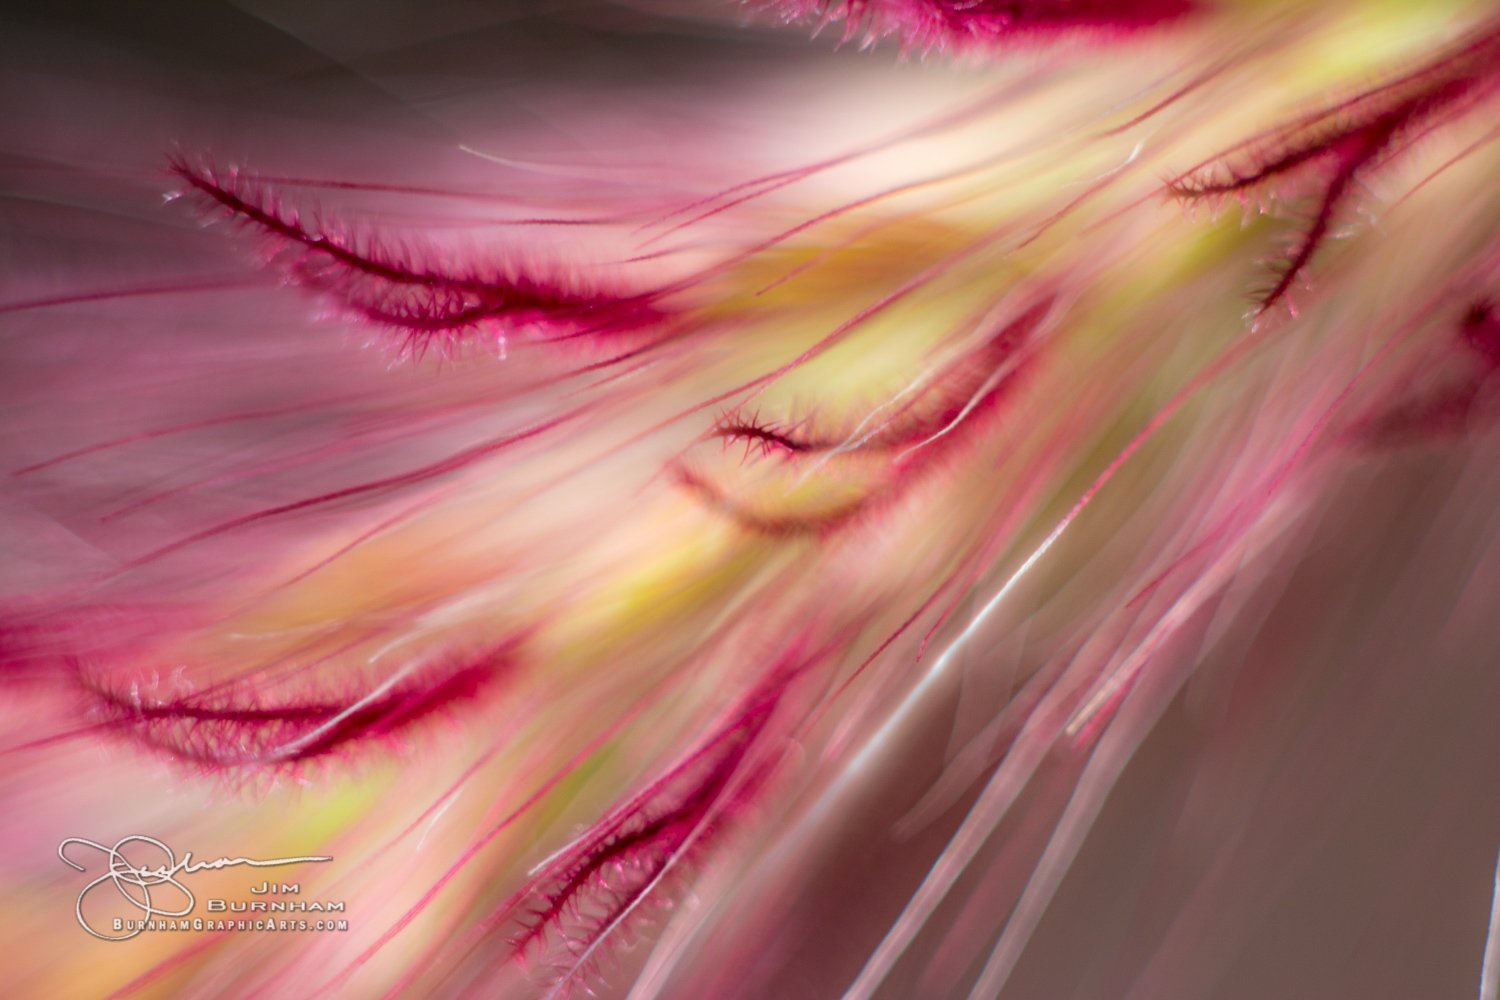
ISO100 50mm f1.8 1/350sec
This will only work if your focus is set to manual. With autofocus, the camera will always hunt for the closest item in the frame or the thing with most contrast. Either way, you have no creative control. A minute amount of focus change forward or backward can have a dramatic affect.
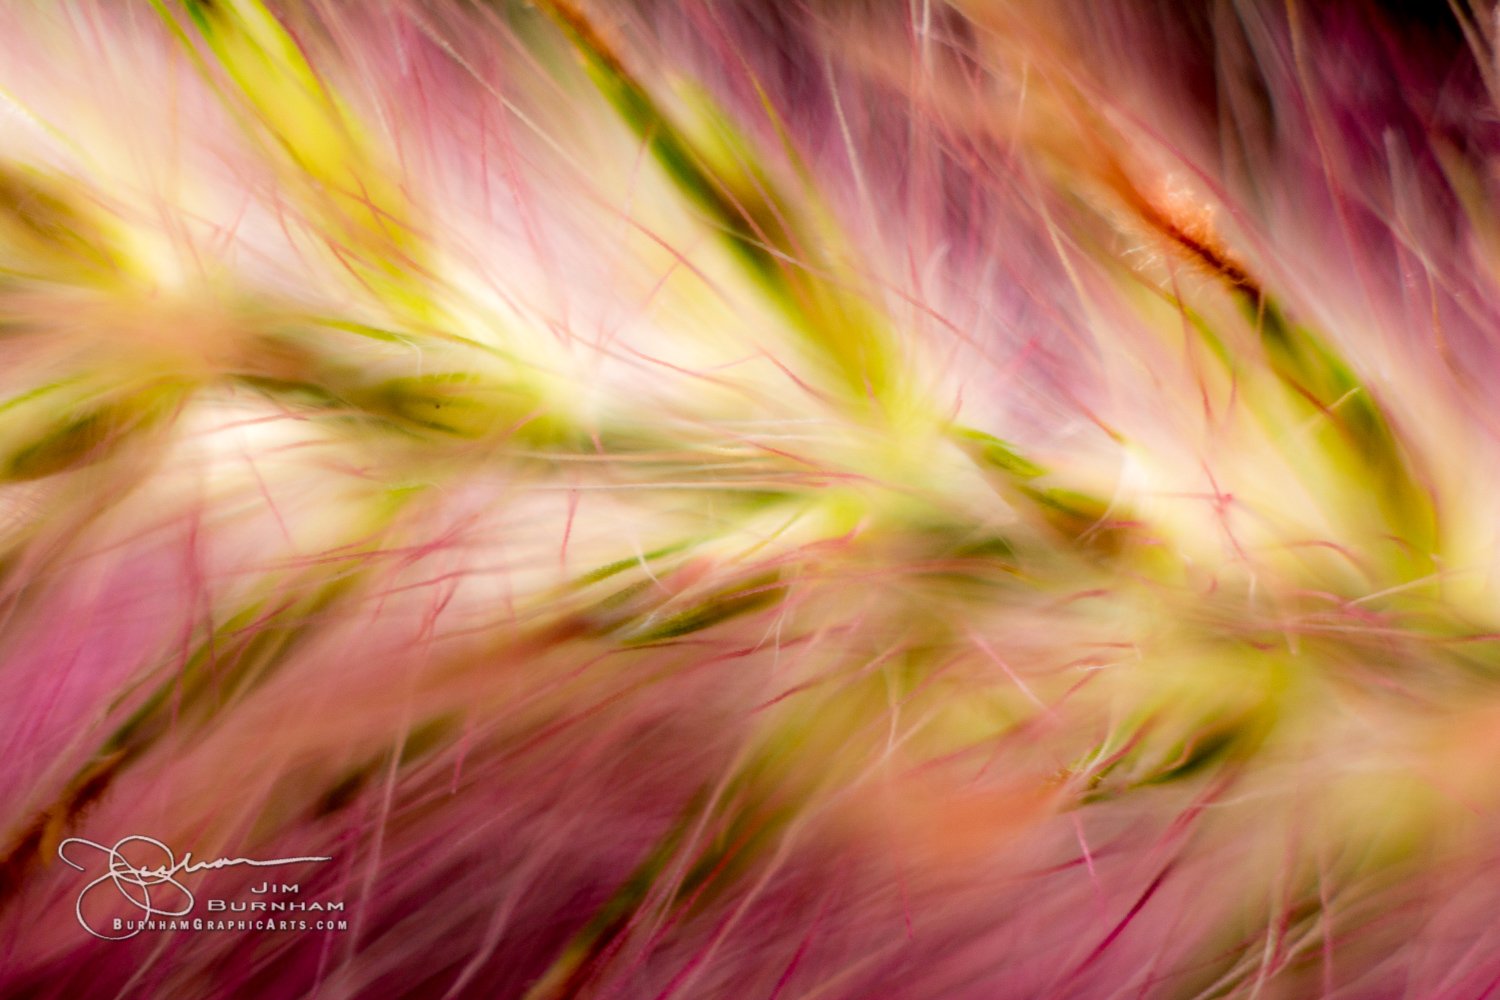
ISO100 50mm f1.8 1/500sec
This results is a beautiful painterly effect, especially with the right lens. My favorite lens for this effect is a prime Nikkor 50mm with a 1.8 minimum aperture. To get a even crazier effect, add an extender ring. This pushes the lens farther away from the sensor and forces you to get closer, resulting in an even narrower DOF. But, you can adjust to a smaller size aperture to change how much is sharp from front to back.
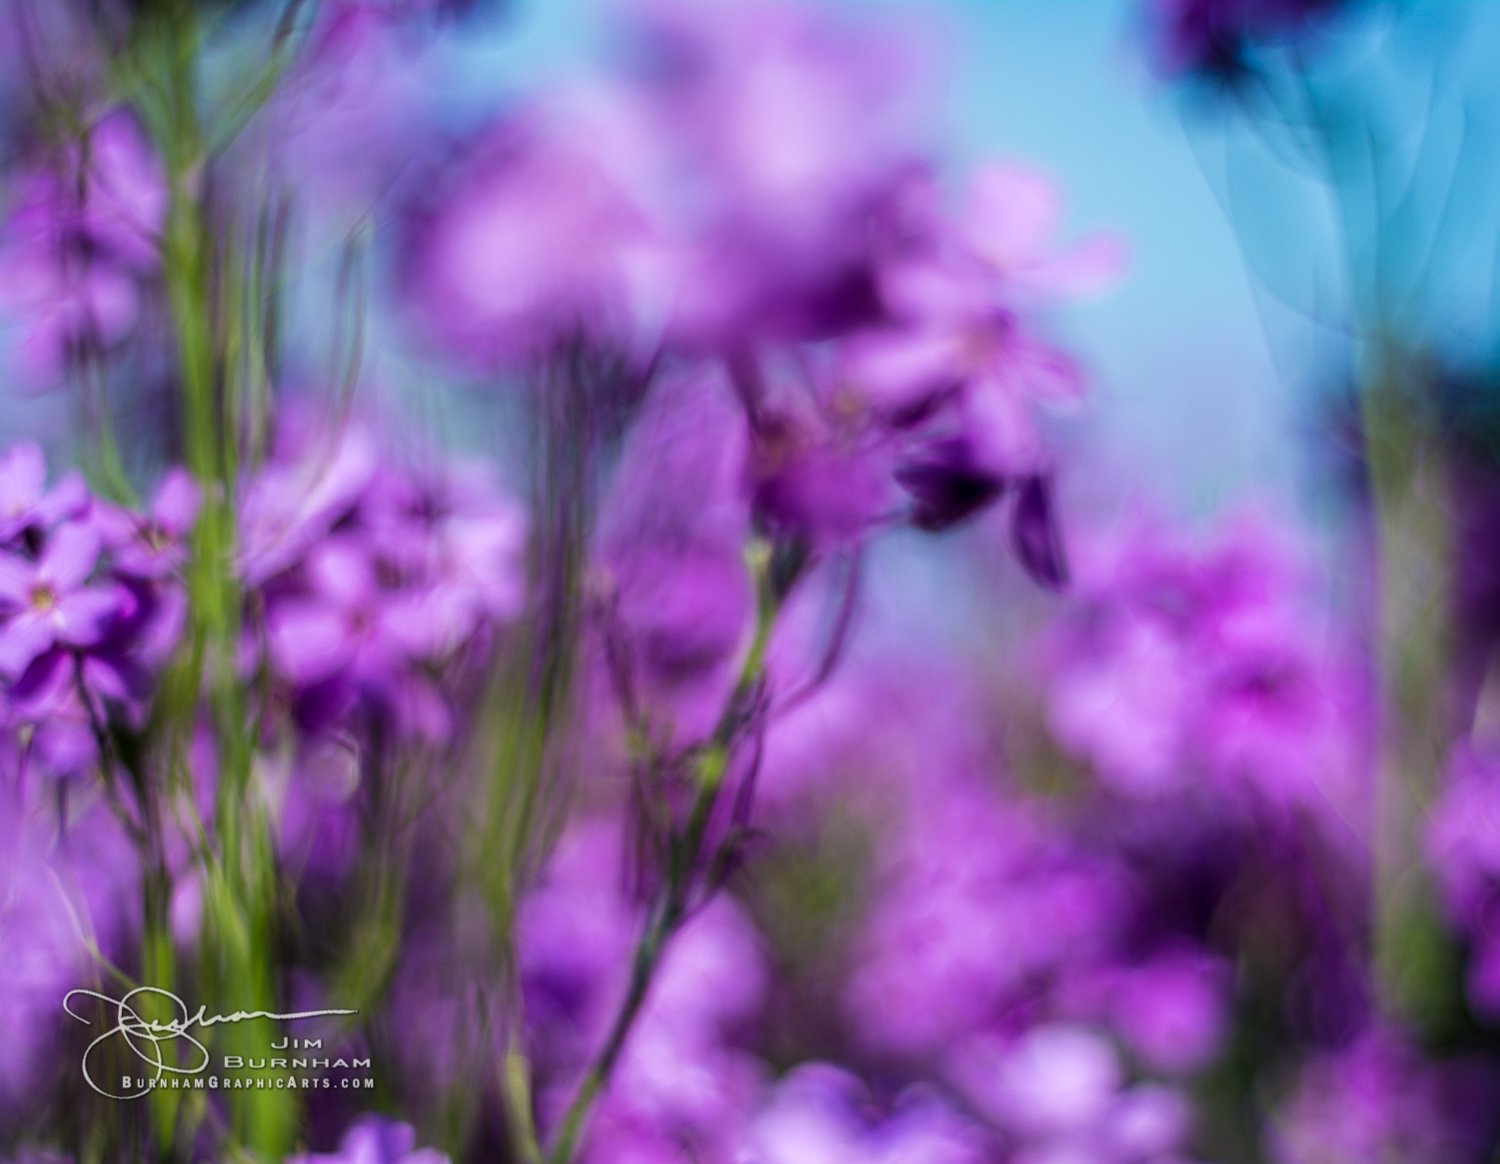
ISO100 50mm f2.0 1/6400sec
Long Exposure Lens Spin Technique
In order to achieve this, you must be able to get a decent long exposure during the daytime. This is a little harder than you might think. Even at the tightest aperture (highest number, like f22) and the lowest ISO, you are looking at a shutter speed that might be too fast to make this work, at least in bright sunlight. You might have better luck in the shadows. A polarizing filter or a neutral density filter will take off up to a stop of light, which might get you in the right shutter speed range of 1/3 to 1 second.
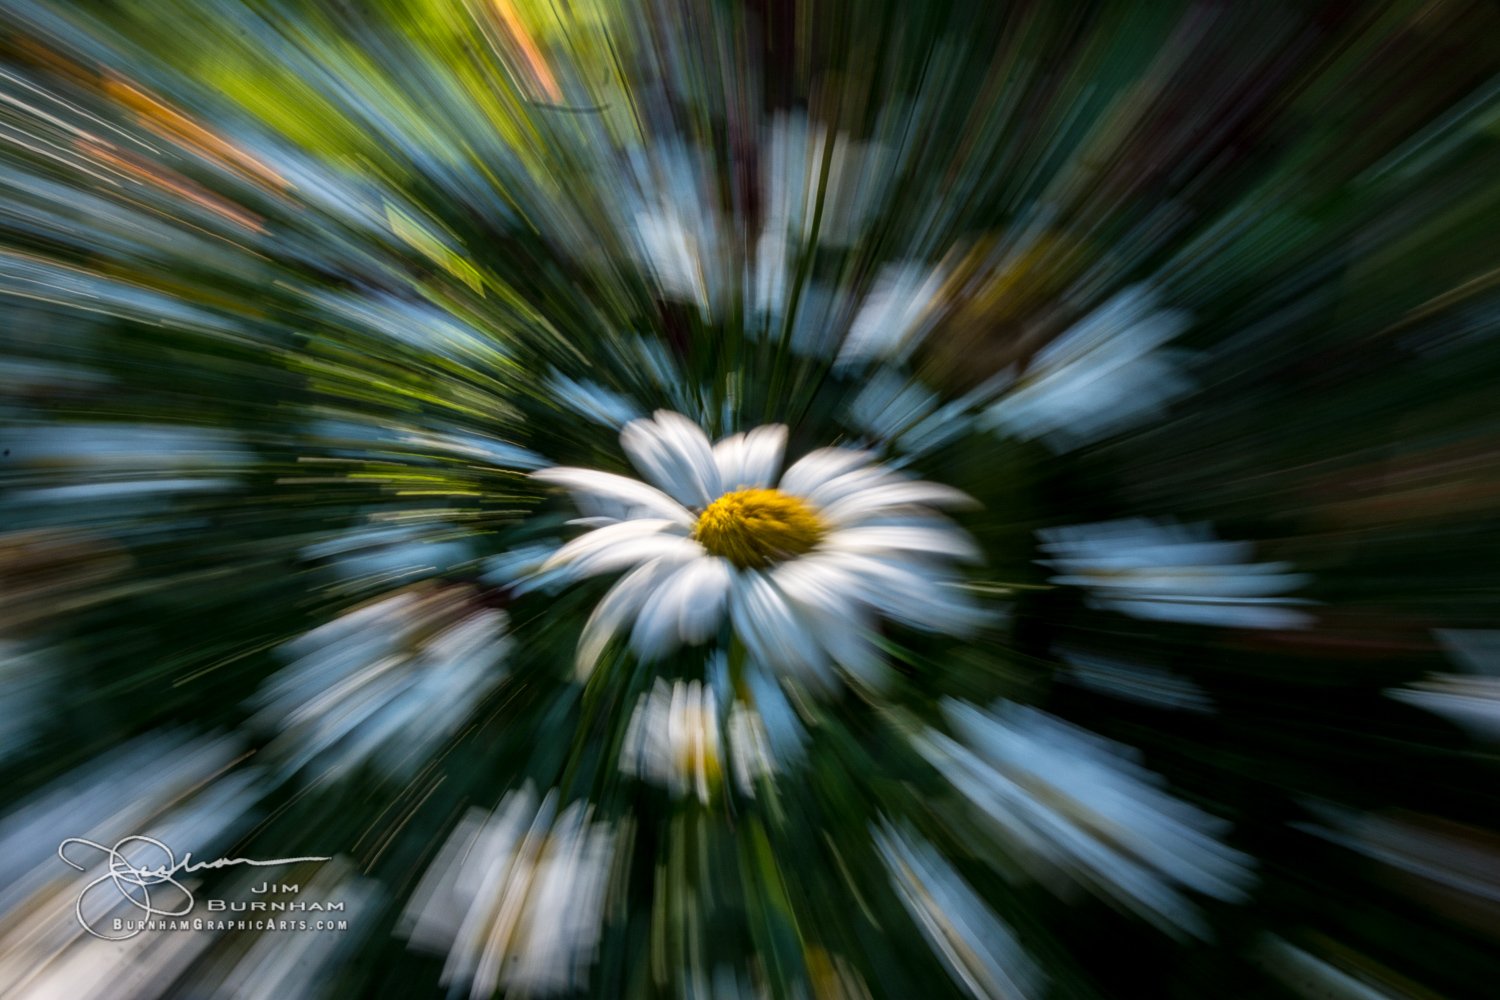
ISO100 18mm f22 1/8sec
This effect was achieved with a telephoto lens at the widest setting and a 1/8 second exposure. While focused on the flower, I zoomed in on it, then zoomed out as I clicked the shutter, resulting in the flower being relatively sharp compared to the background which blurred as it expanded. This was handheld, so there is a bit of rotation, but if you want perfectly straight lines, use a tripod.
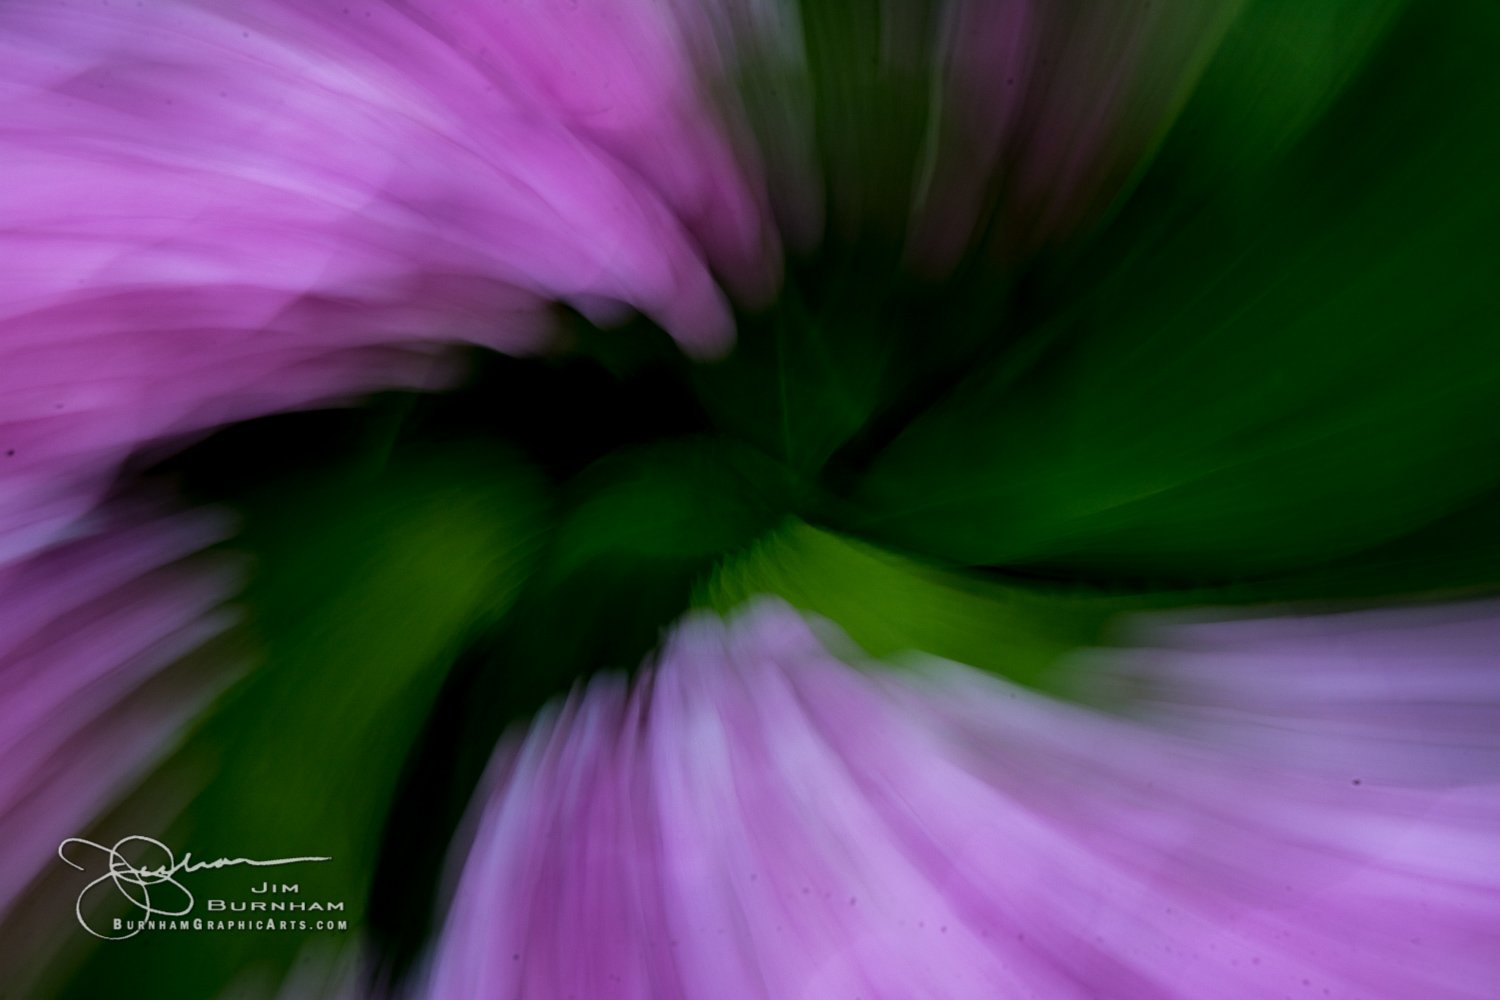
ISO100 32mm f22 0.6sec
For this image I did not focus on any particular flower, so the background flowers blurred very evenly over the zoom. But here, I held the zoom ring steady as I rotated the entire camera. Takes a bit of practice, but the results are cool.
The Public Random Voyeur Technique
This technique might cause some questioning looks, but if you are up for it, it can result in some very unique photos. Please note, do not do this in locations that expressly prohibit photography. If any of your team is caught, the secretary will disavow any knowledge of your actions.
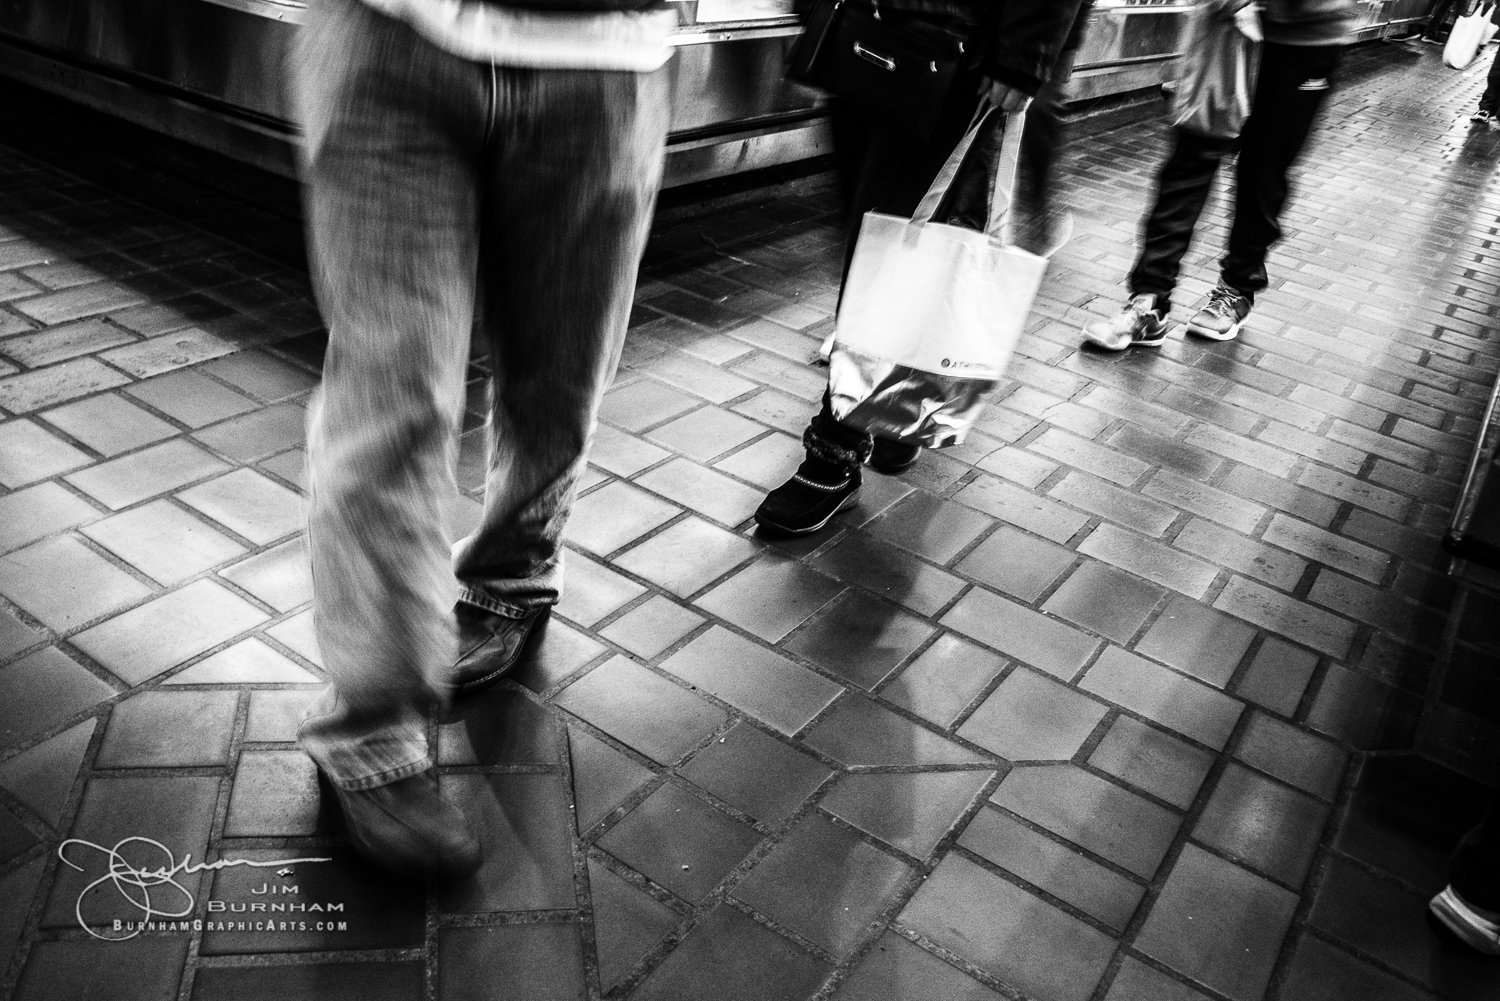
ISO2200 32mm f9.5 1/8sec
Things to note:
- The camera has to have intervolameter functionality, the ability to automatically take a photo every x seconds.
- You walk around with the camera hanging over your shoulder to your side or behind you. but try not to block the lens.
- You are shooting blind. Do not look through it!
- Best if you are indoors and you do not use flash, so your exposure is whatever the camera picks, and that is usually slow. You don’t use flash because duh, you don’t want to draw attention to yourself.
- You can set the focus to automatic or manual, but if you choose automatic, expect it to be searching for a focus point a number of times which will cause a missed shot.
- As the camera is firing, you are always in motion, or you are stationary and the people are moving, so there is always some blur.

ISO2200 32mm f9.5 1/4sec
These were taken in the West Side Market in Cleveland. It was crowded and I was fairly invisible, or so I thought! I believe the camera was in Aperture Priority mode, meaning it was always f9.5, but the camera was picking the shutter speed. Notice on all three, only the shutter speed changed.
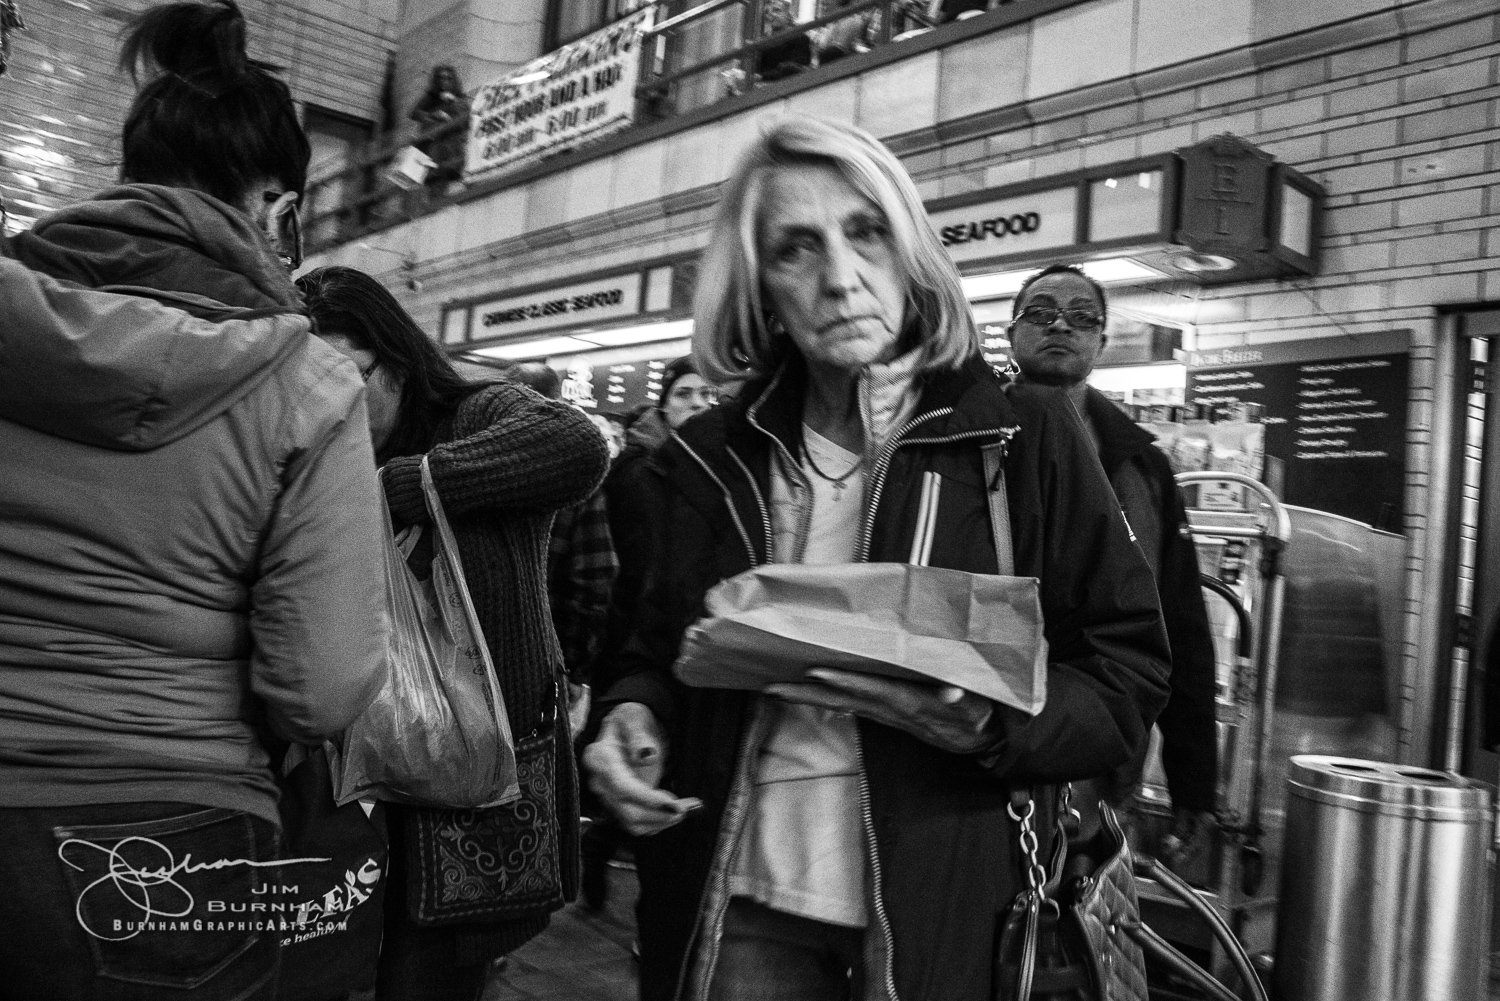
ISO2200 32mm f9.5 1/60sec
Maybe she was just admiring my camera. If your camera is silent, great, but if there is a shutter click, you might draw a little attention if someone traces the sound to you. This is why hanging it to the side is better than the front, because there is always plausible deniability! Why ma’am, I’m also shocked that my camera is taking pictures without me knowing it! I better get that fixed! 🙂
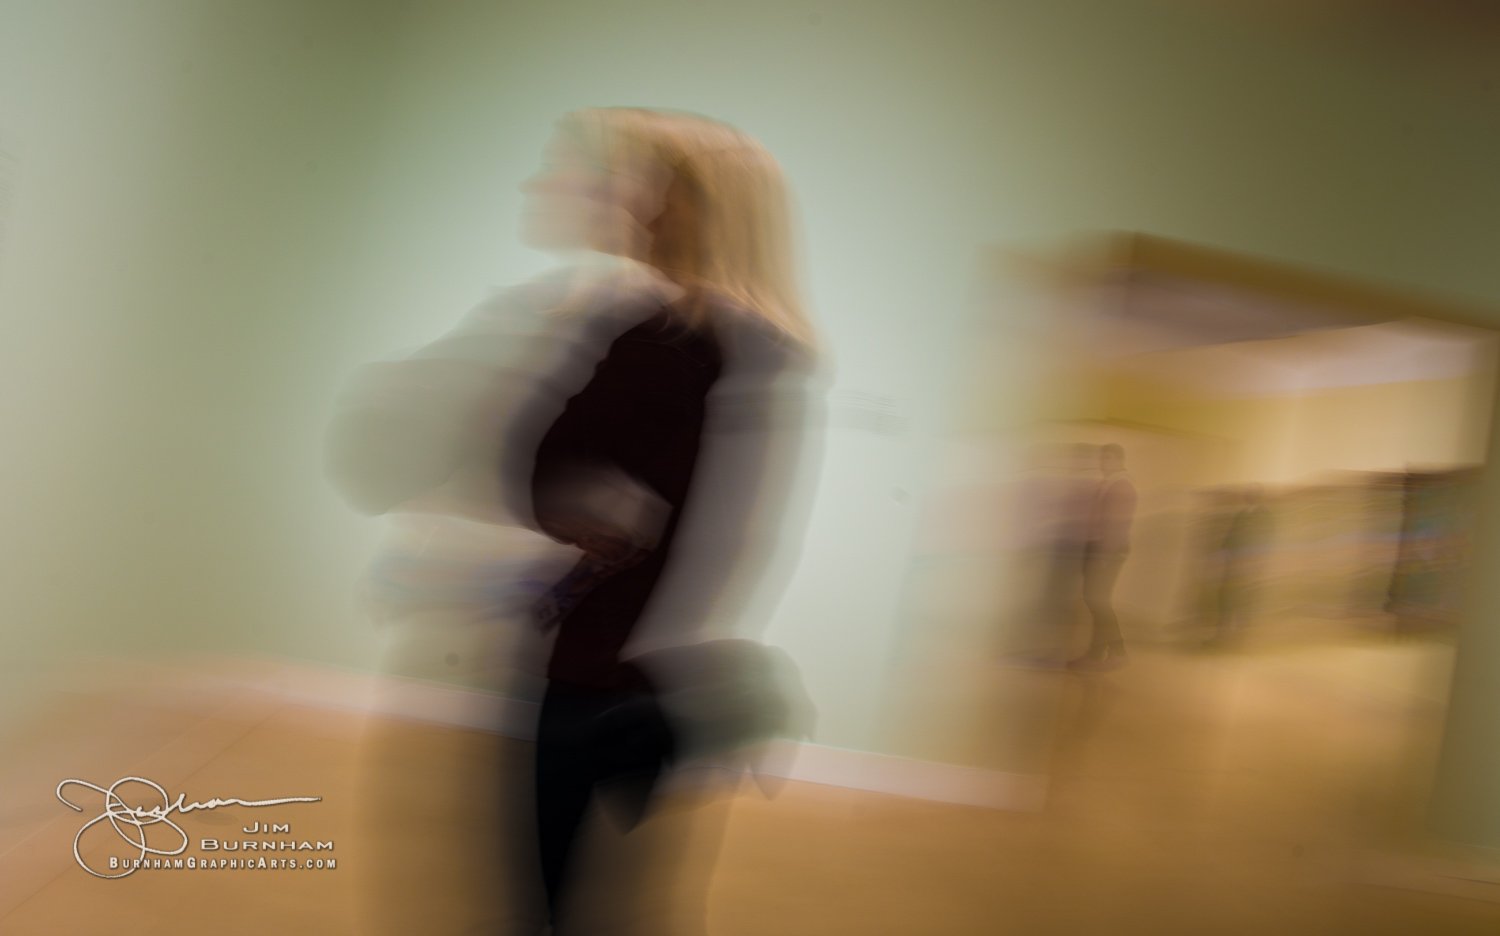
ISO100 28mm f8 0.5sec
Fortunately, I knew the person in the shot and she knew what I was doing. But no matter how hard she tried, she still could not avoid the random voyeur technique!
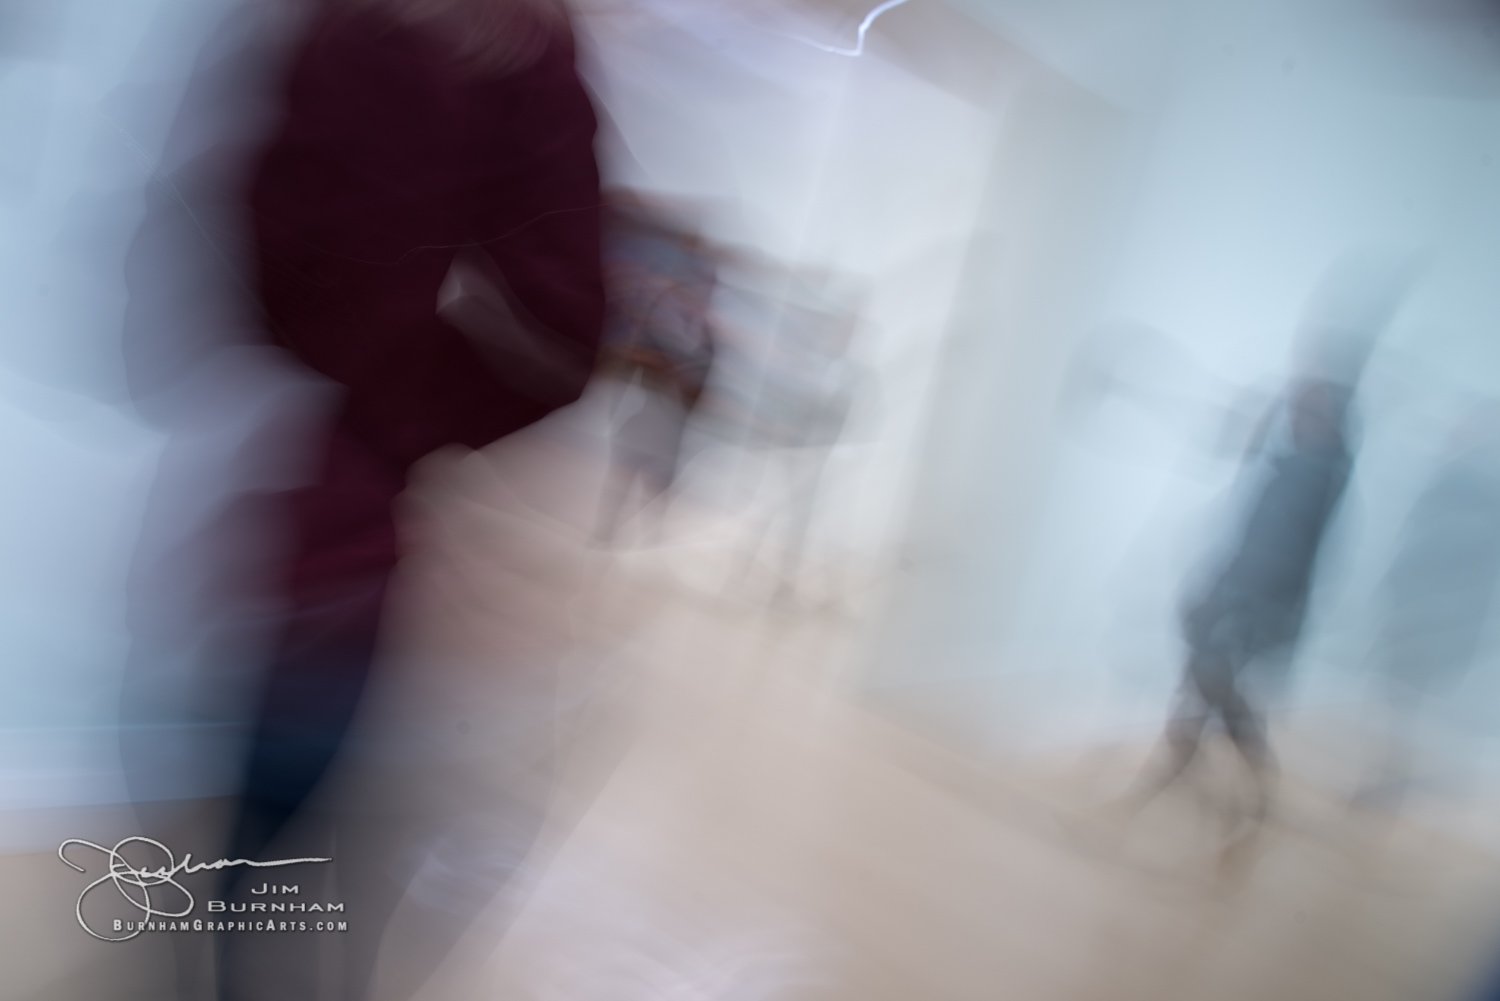
ISO100 28mm f8 1.5sec
The Wipe Technique
This is exactly how it sounds, either moving the camera up/down or right/left as you press the shutter. The wipe technique is best with a shutter speed as fast as 1/30 sec up to 1 sec. Once you get over a second, it can seem like an eternity. You can also get extra crazy and combine up and down or right and left, but that usually ends up making the image a little too chaotic. The trick to this is to keep the result as smooth as possible with no jogs in the blur.

ISO100 125mm f5.6 1/10sec
The scene should also have some nice color and contrast in it so the elements are separate. The scene above was a couple of trees in front of some Autumn color. In fact, Autumn is the best time to use this technique as the background has a varied set of complementary colors already.
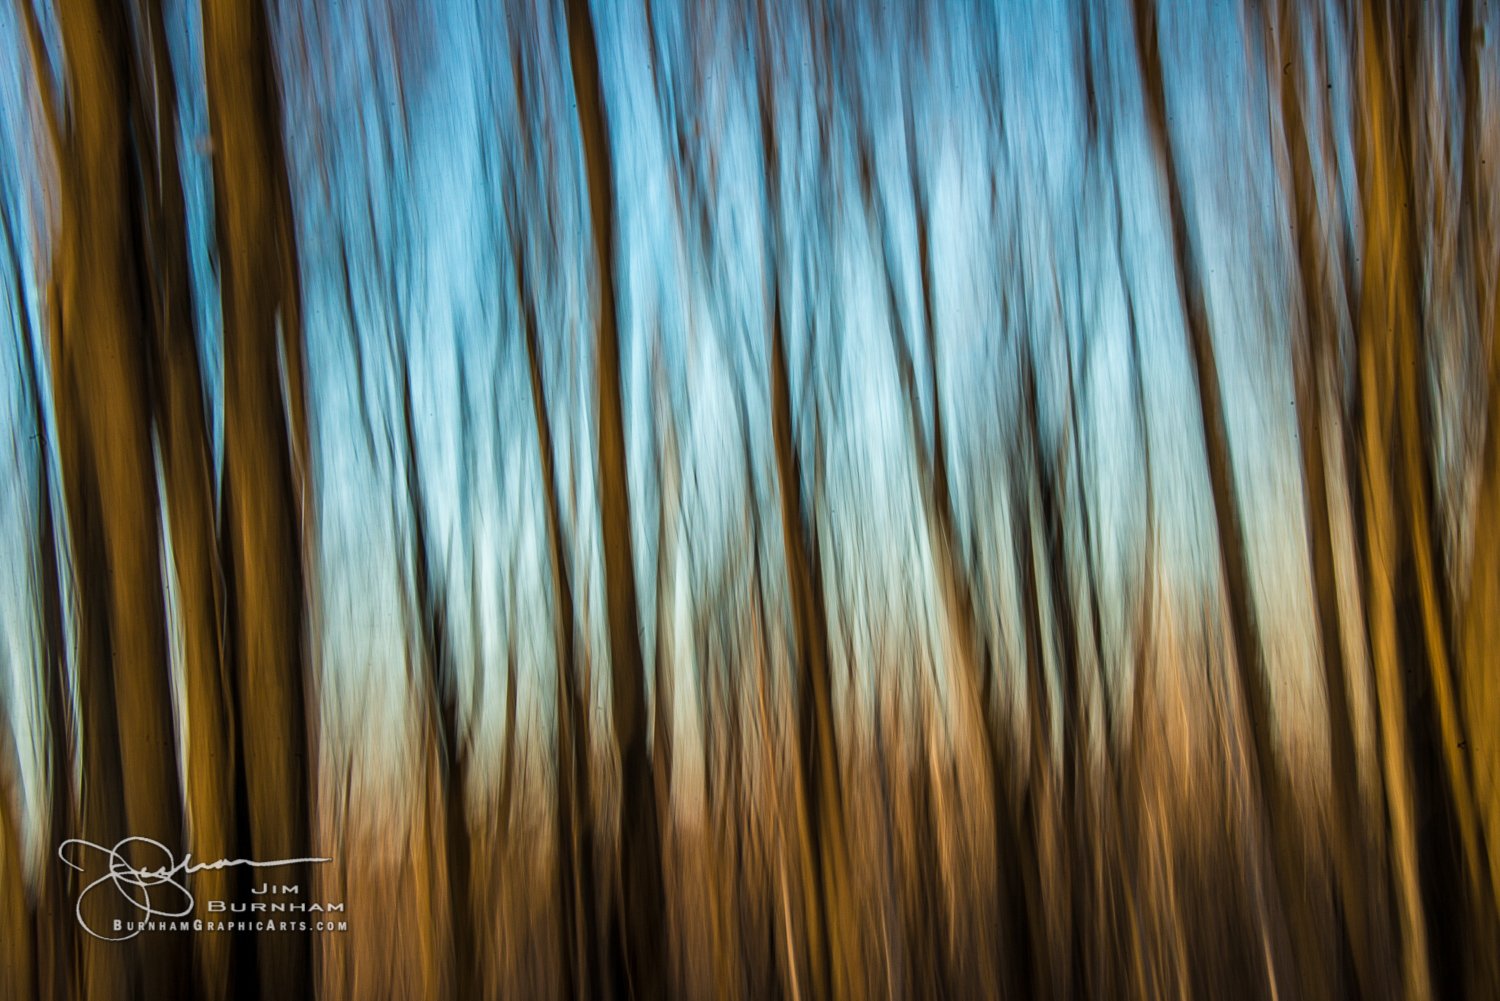
ISO200 68mm f32 1/30sec
Spring is also a great time as it allows the entire tree trunk and sky to come through with no leaves to get in the way. In Summer, this would have been entirely green.
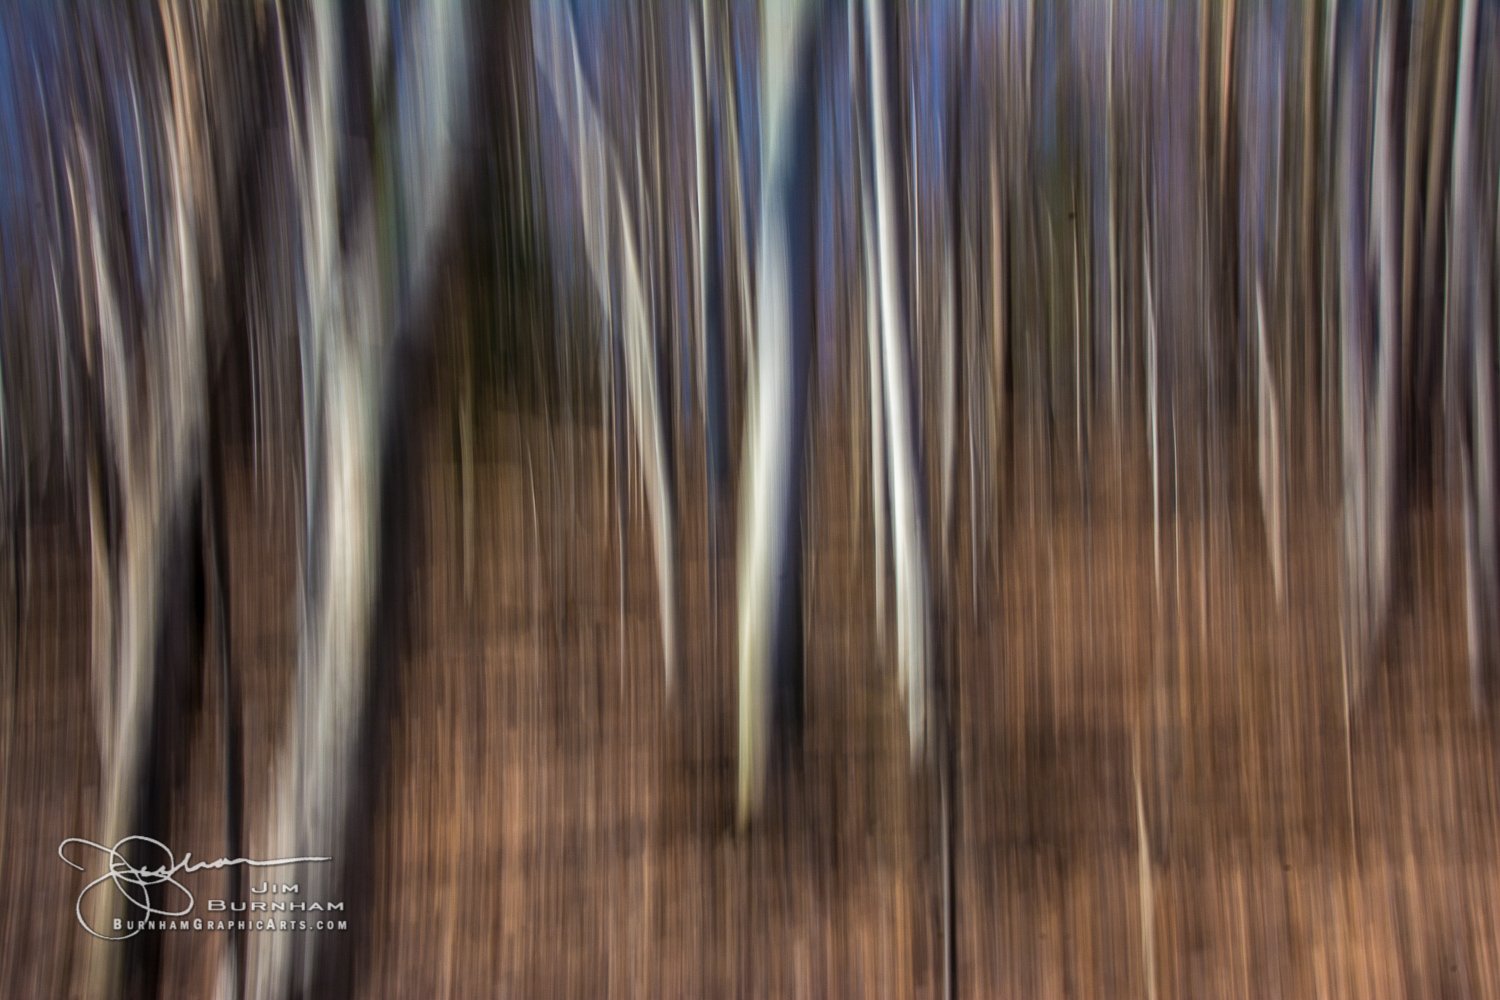
ISO100 38mm f22 1/10sec
These are birch trees in Spring, using the pre-foliage ground as the background. The up/down wipe works well with trees as it follows the natural lines of the scene.
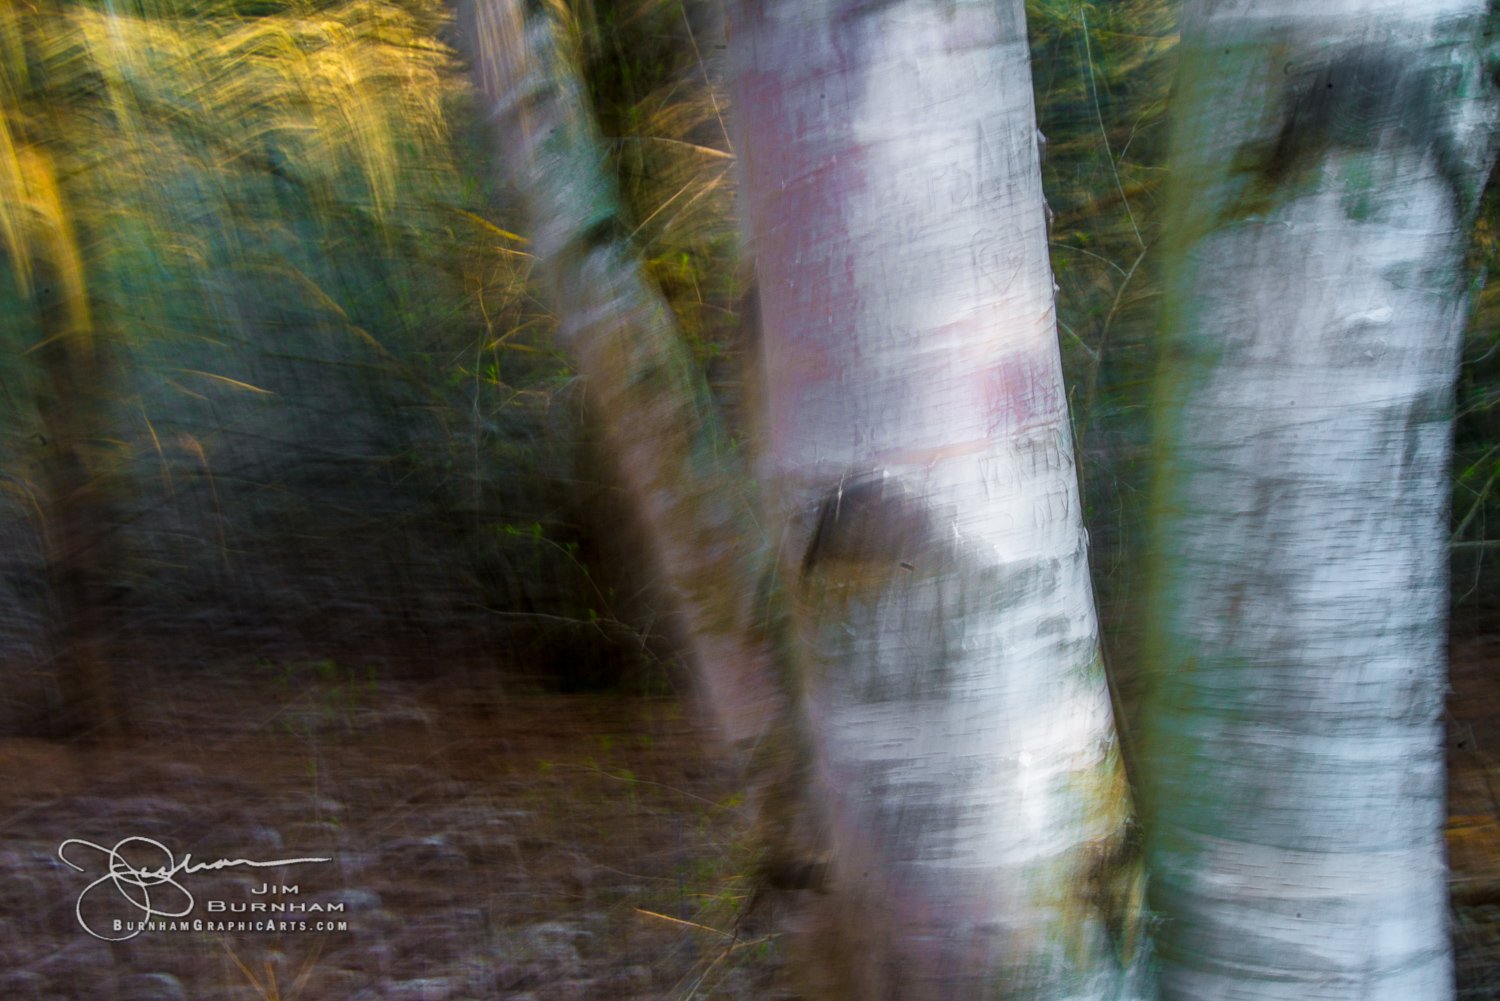
ISO200 62mm f22 1/6sec
But you can use a left/right wipe on trees, as well. This is an example of a longer than normal wipe at 1/6sec. But it resulted in a very painterly scene using a very slow “walk by” wipe. I boosted the vibrance and saturation, bringing out some colors that were not already obvious. If you are going for an altered reality, you are free to experiment with the exposure. Go nuts!
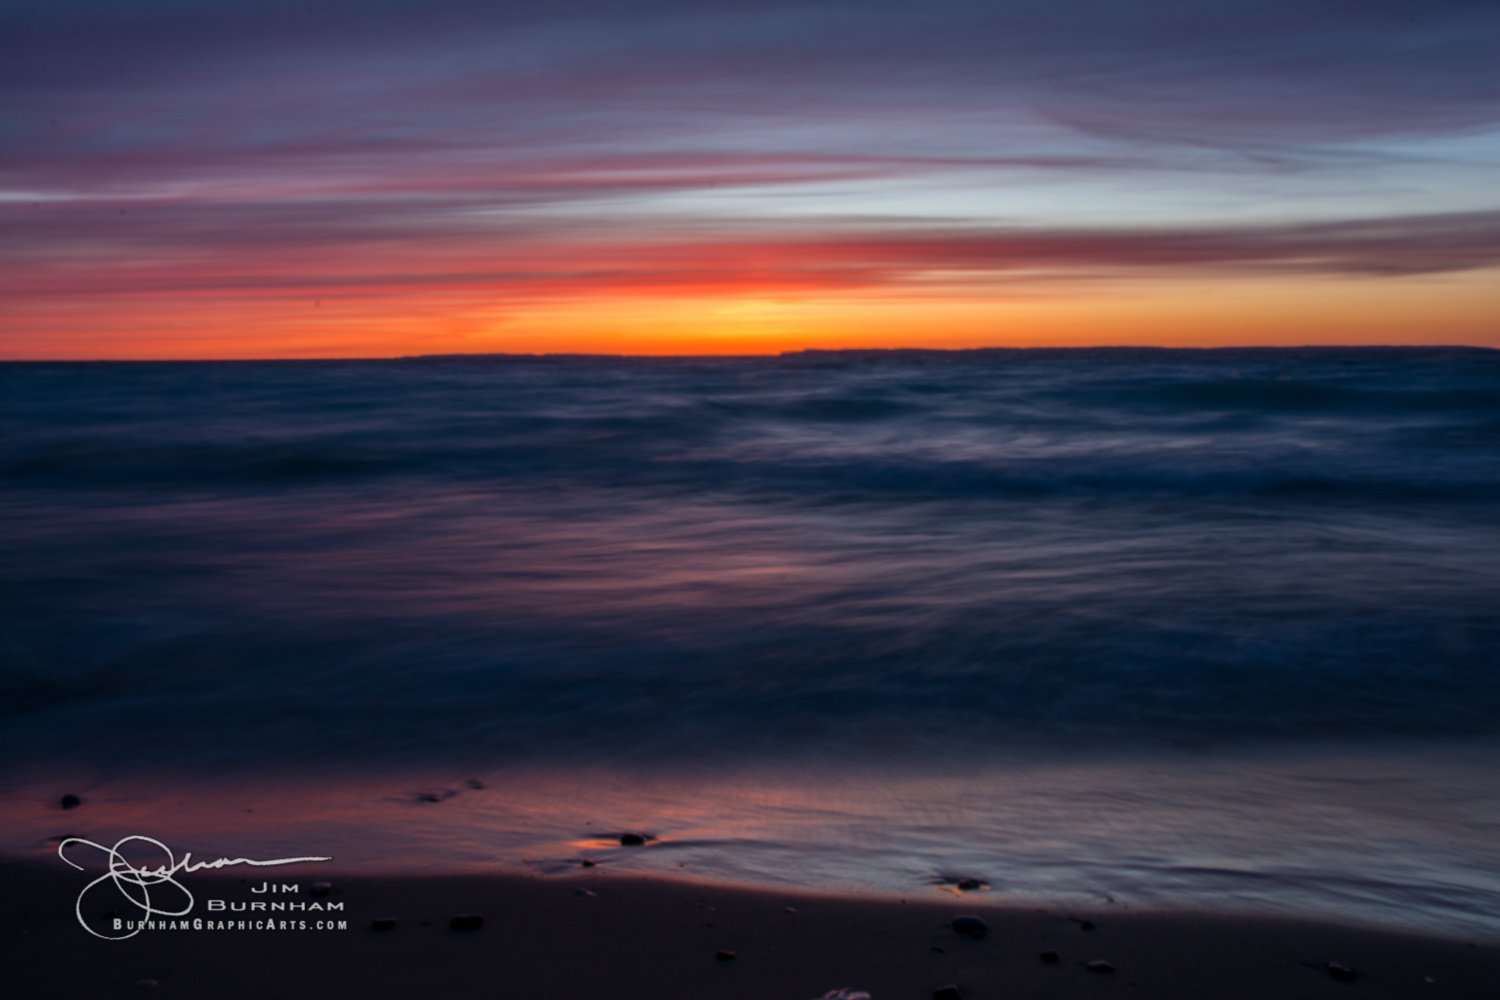
ISO100 22mm f22 1.6sec
Another short left to right wipe with a fairly long shutter speed of 1.6 seconds. Beach scenes are great for this technique at any time of day, best at sunset to get the oranges and purples of sunset. No extra effort has to go into getting a long exposure at sunset, the camera will already want to lengthen the shutter speed. But you are free to adjust since you are in M mode, right?
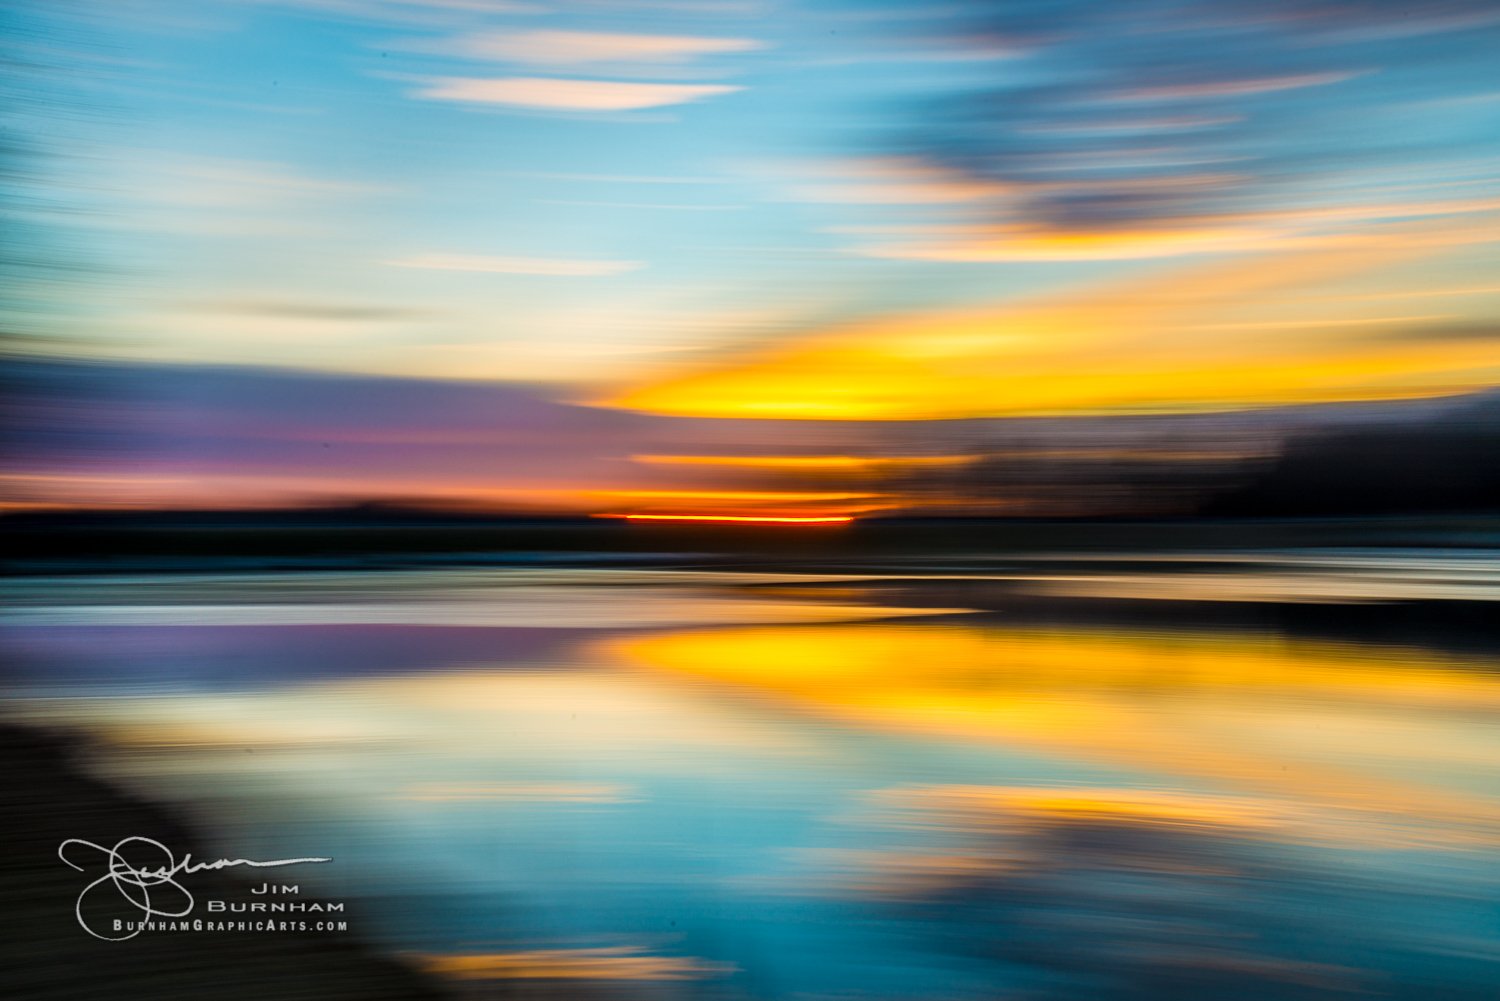
ISO100 35mm f22 1/4sec
Or, instead of up/down or right/left, just spin the entire camera as you click the shutter! The image below is the same scene as above. The spin effect is tricky to accomplish, but if you use your camera timer to delay and automatically take the shot, you can simply worry about rotating the camera around the axis of the lens.
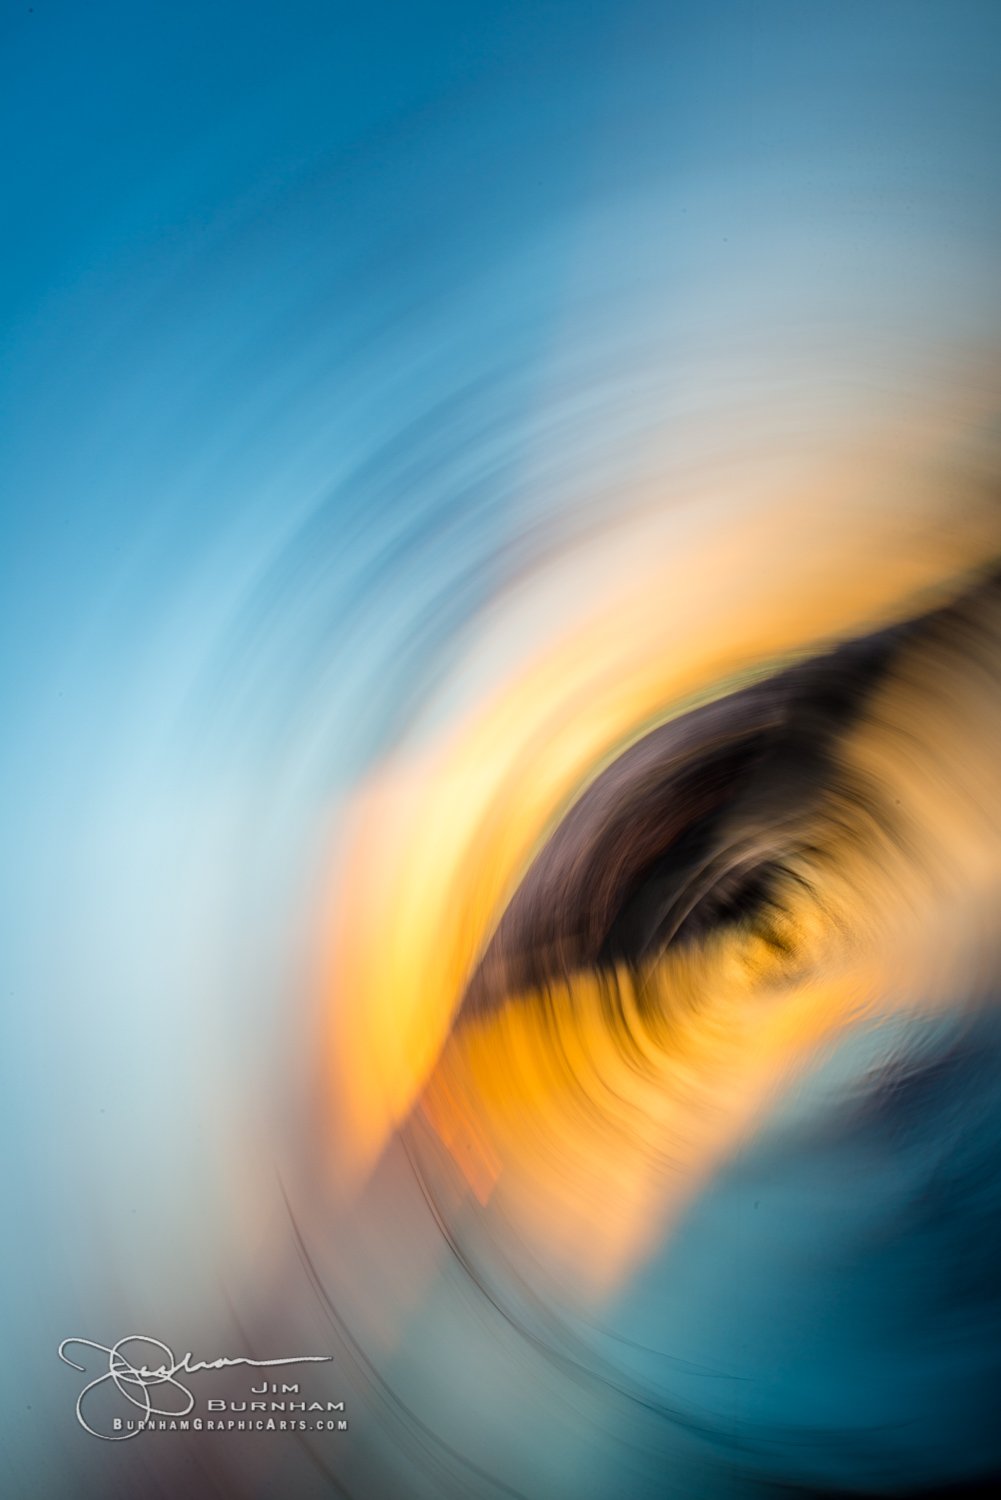
ISO100 35mm f22 1/3sec
But during the day, low ISO and a small aperture, like f22, with a polarizing filter (or neutral density filter) attached will get you a 1/2 sec or more to get some nice smooth Aquas and sandy tans. Or, if your camera goes down to ISO50 and your lens can go to f32, use those to lengthen your exposure as in the next two photos!
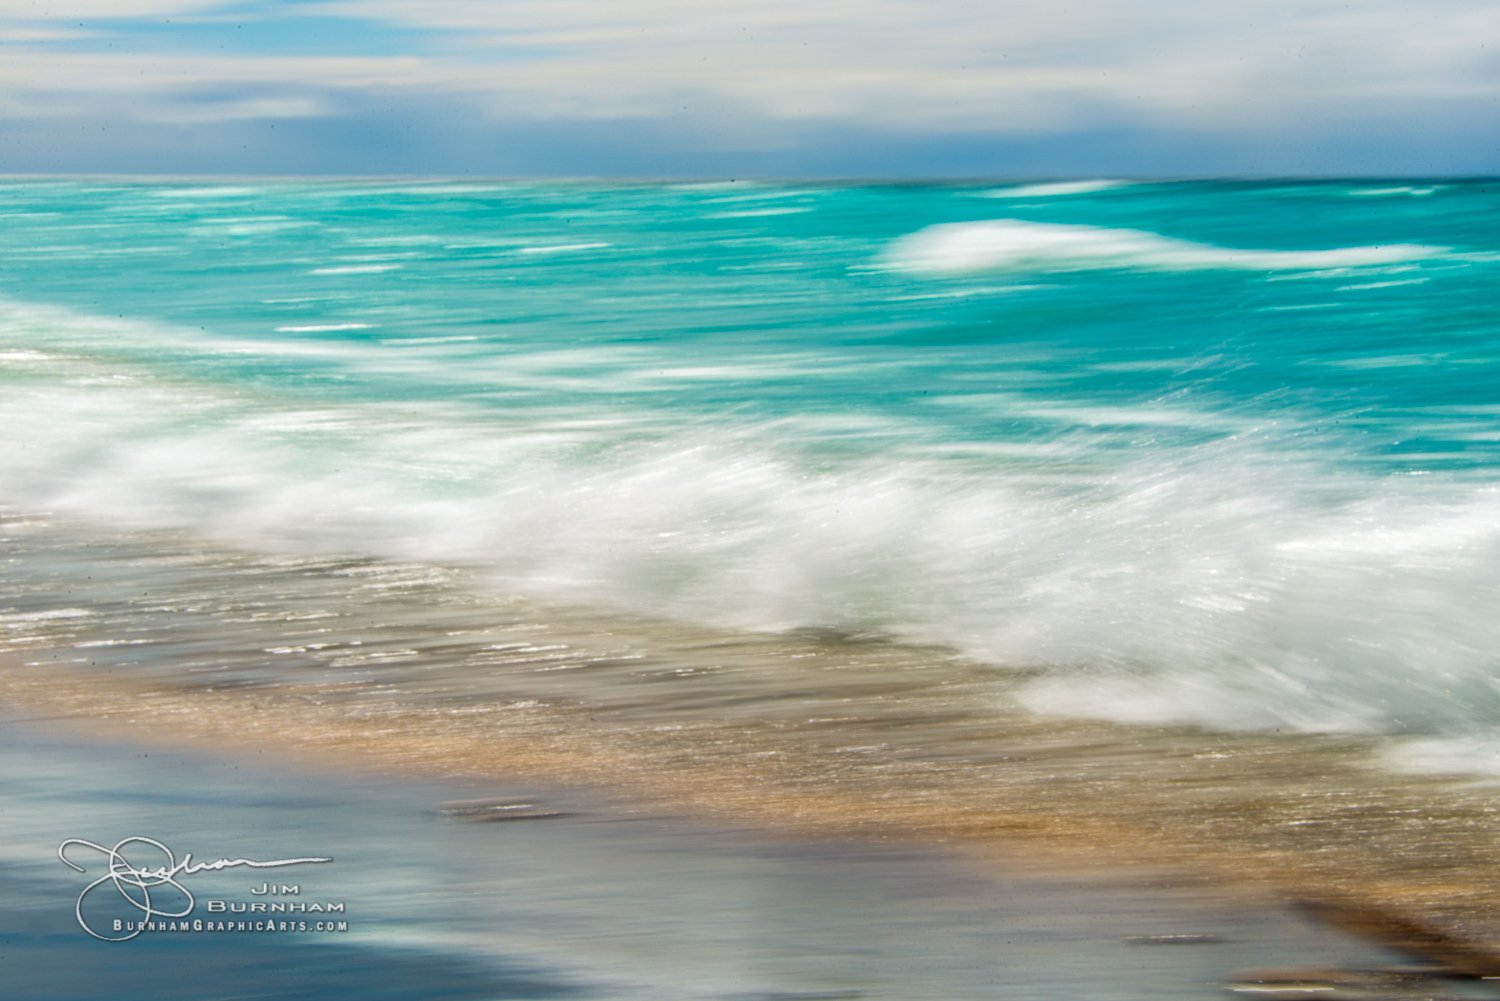
ISO50 62mm f32 1/30sec
Bonus if you can get the horizon perfectly straight while panning.
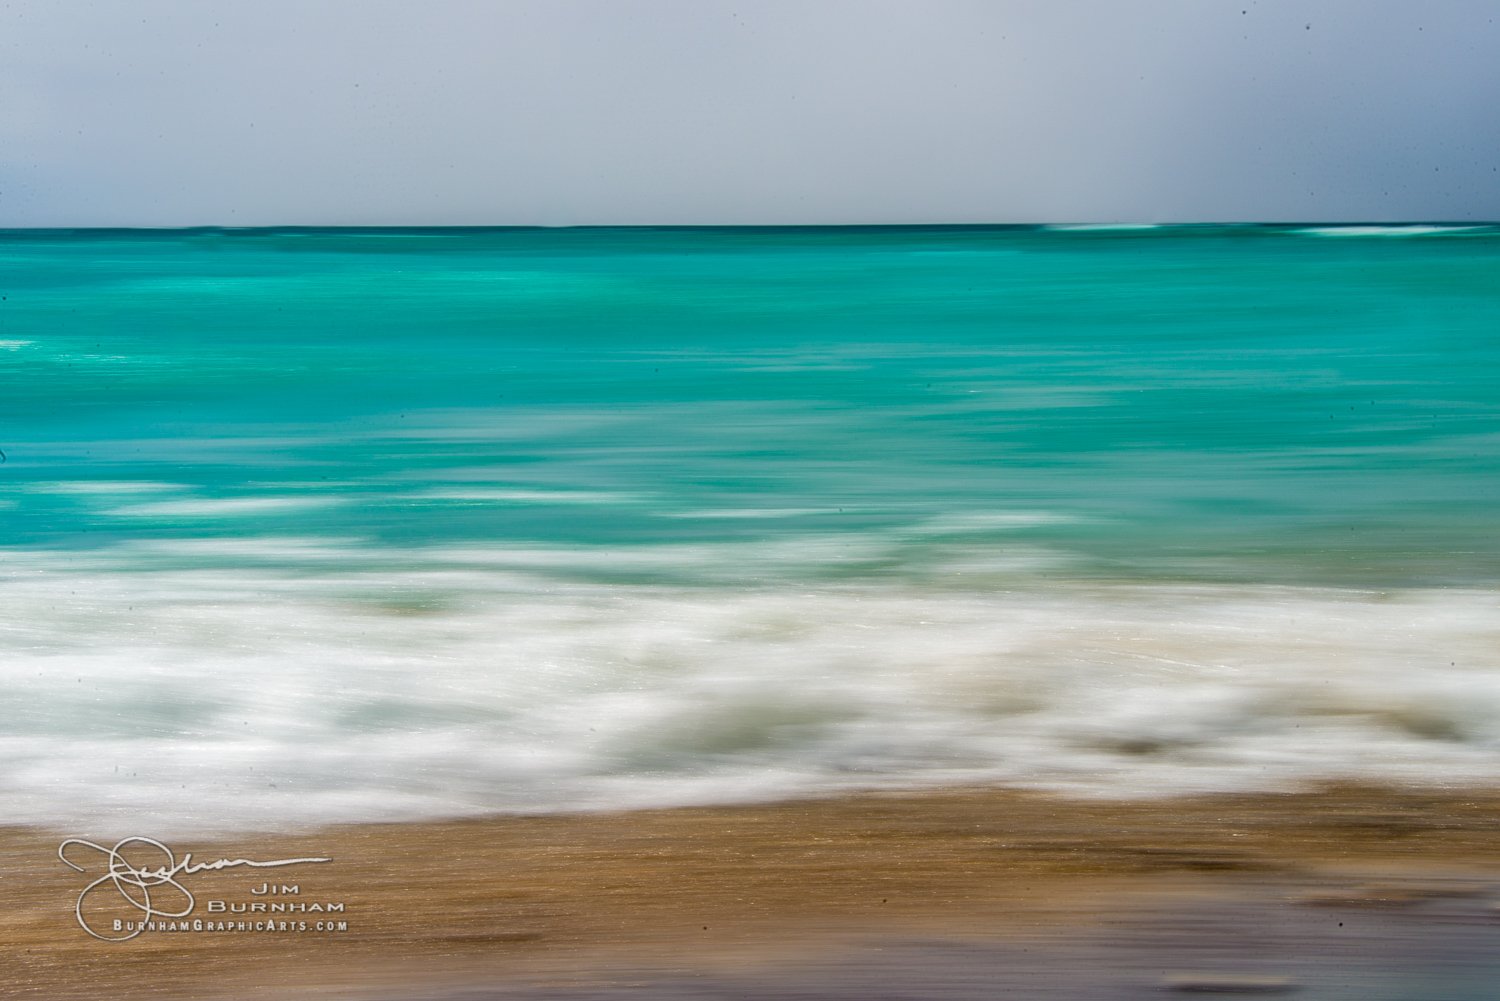
ISO50 62mm f32 1/30sec
The Flowing Water Technique
This technique is more standard. You’ve seen this with photos of rivers and streams, but those are mostly wide-angle shots. I won’t cover that here. However, if you get close to the moving water in a macro shot, you can get some interesting effects. These were taken near the shore in Leland Harbor while the Spring ice was breaking up. Small waves were pushing the ice to the shallows and when it got stuck in the sand, the foam flowed around it.
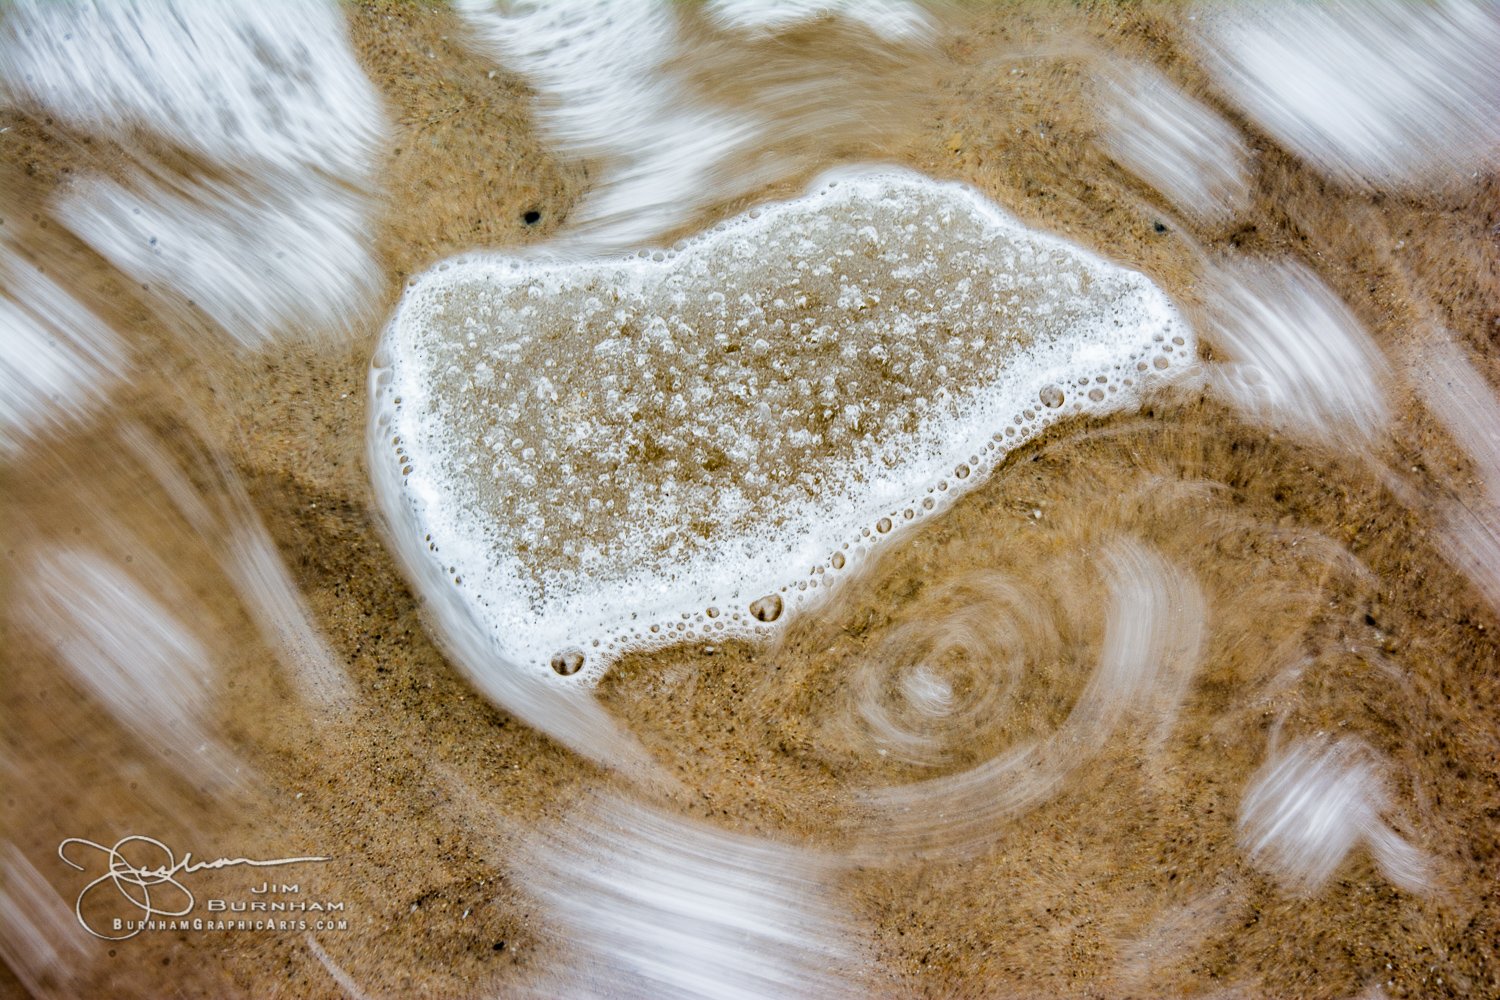
ISO100 75mm f22 1/4sec
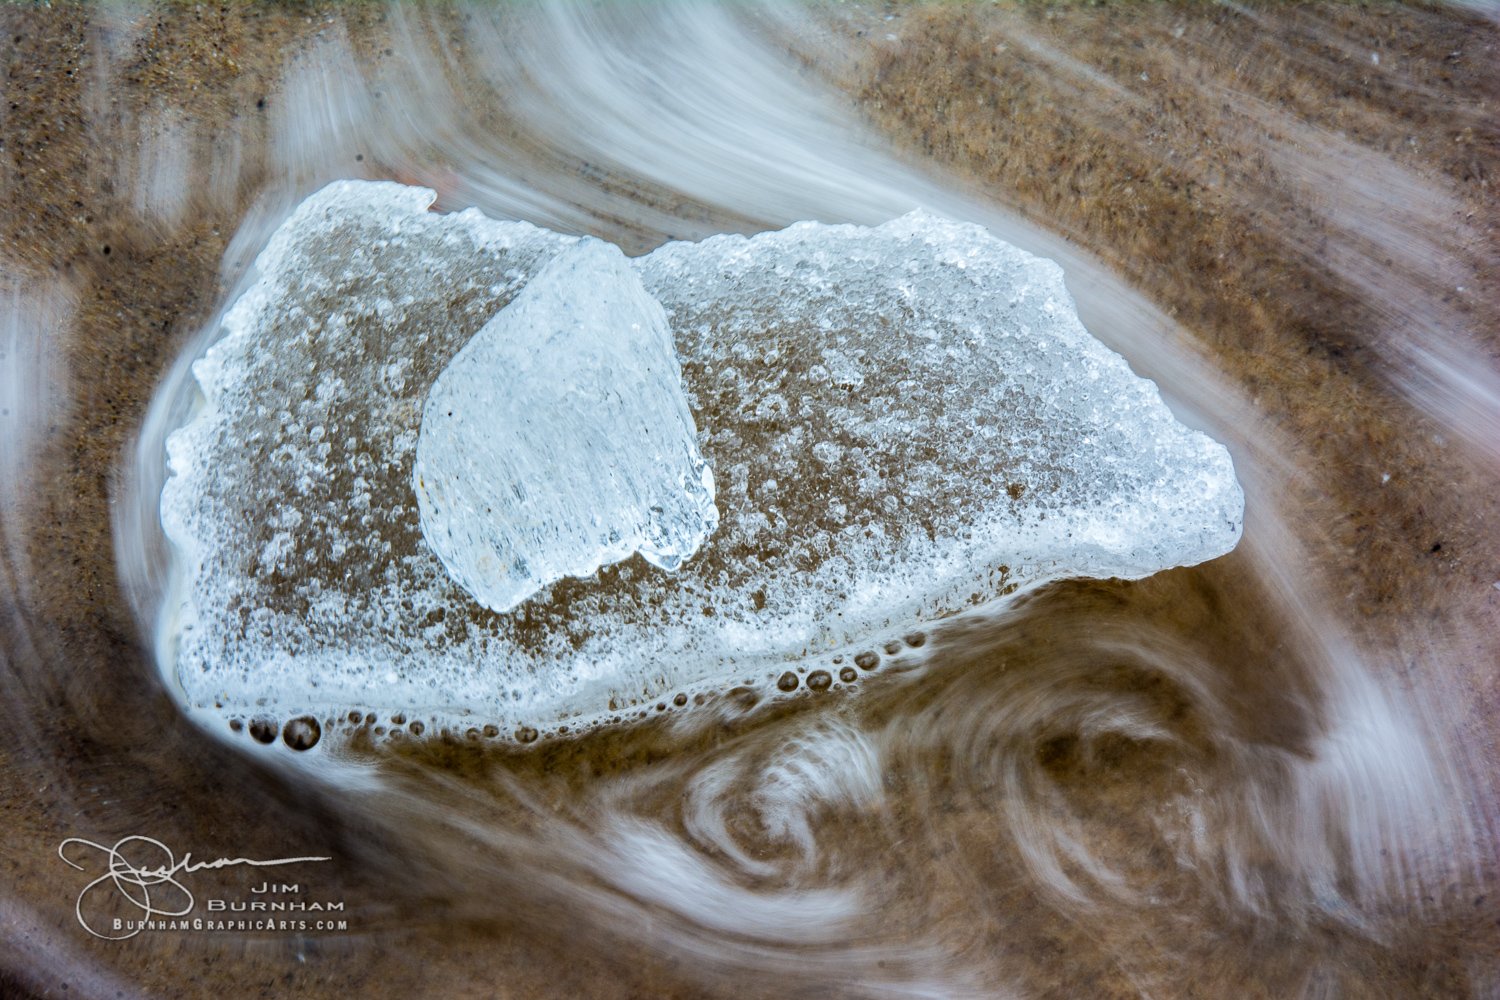
ISO100 105mm f22 1/5sec
The Random Firework Light Painting Technique
This technique requires a bit of telephoto, focus set to infinity, and some timing and aim.
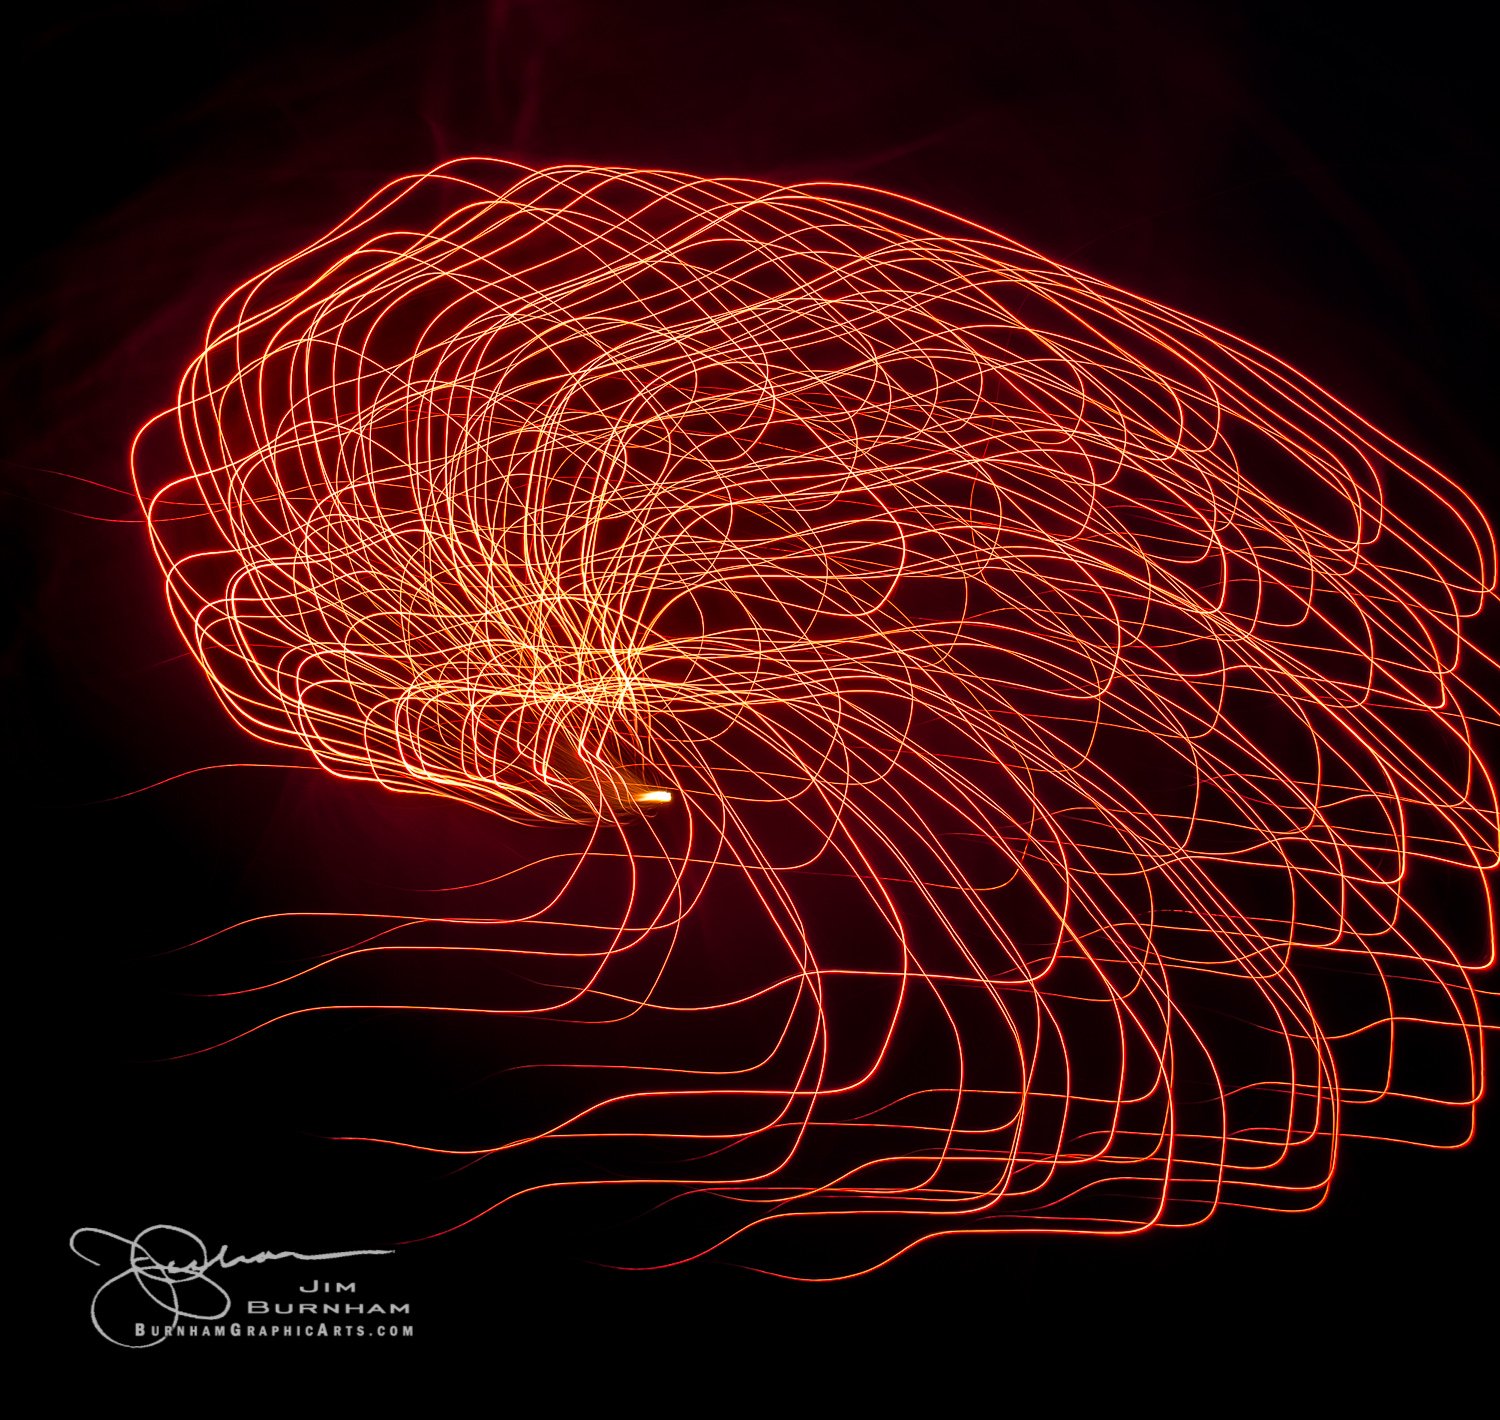
ISO100 38mm f8 3sec
Set your camera to autofocus and then pre-focus to the right general area by waiting for some bright fireworks to go off and let the camera set the focus for you. Then turn it to manual focus and keep it there. Set your camera to f8 of f11 and a 1 or 3 second shutter speed and wait for a firework to be launched. I pick 3 seconds because you never know exactly when the burst will happen and having the shutter open against a black sky does not hurt you. I pick f8-f11 because it will be sharper than lower apertures and if the focus is a bit off, it won’t be a problem.
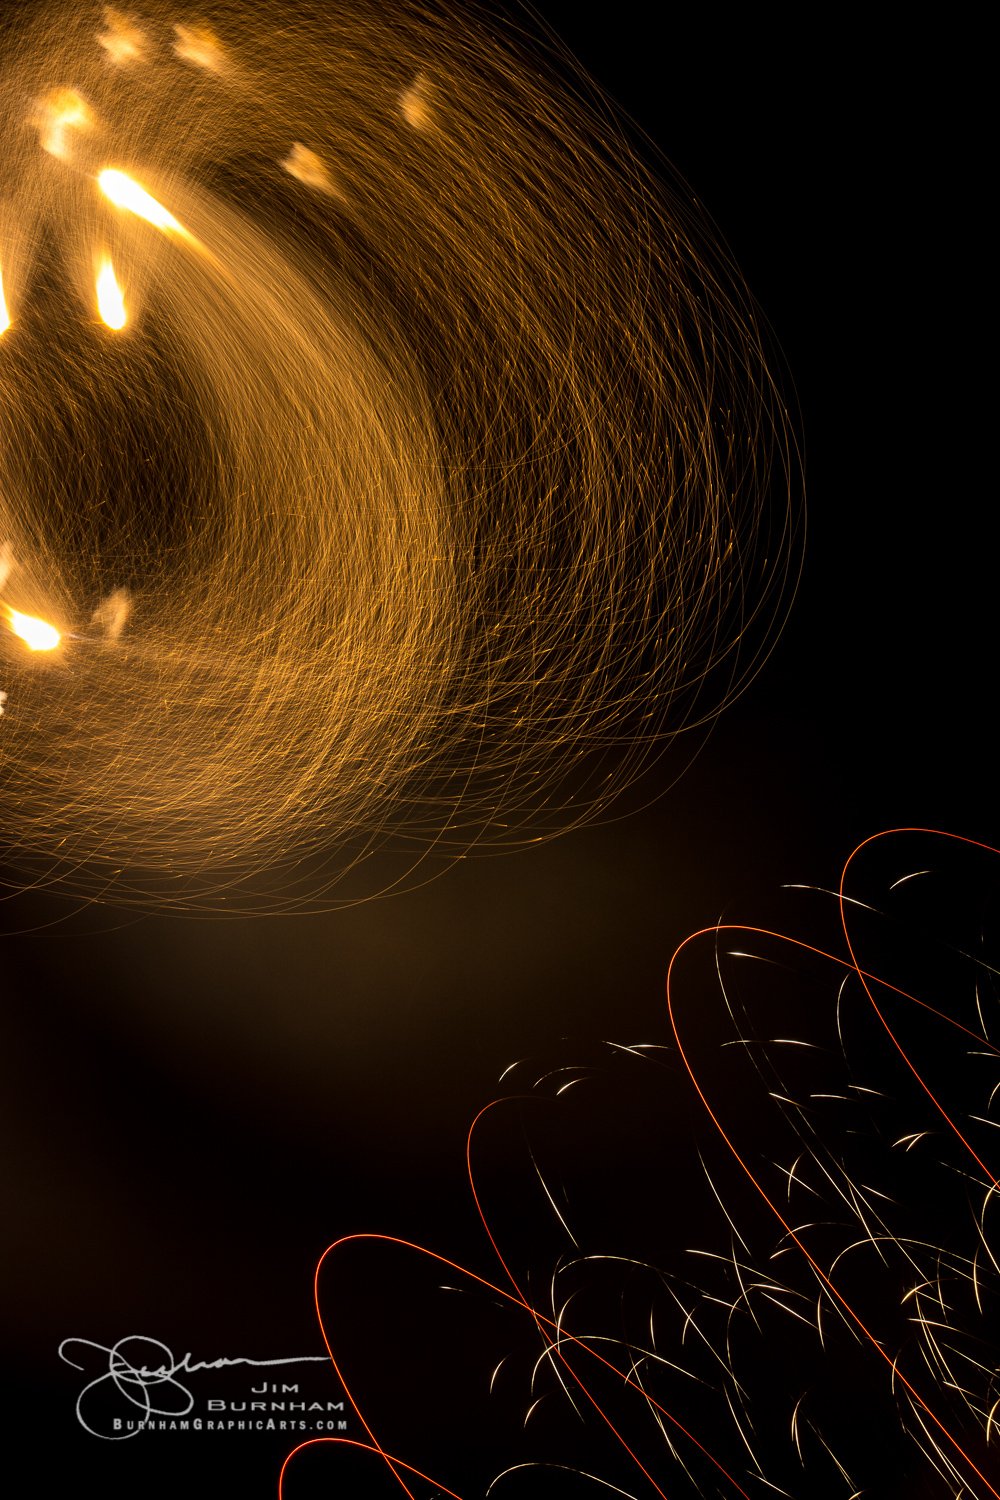
ISO100 75mm f11 3sec
Aim for the general area you think the burst will be, hit the shutter right before you think the explosion will happen and move the camera while the burst is happening. Check the result and adjust the aperture if too dark. The lines should be very distinct. Don’t judge by the histogram, it will be pushed way to the left (dark). The lines should have color and not be completely white.
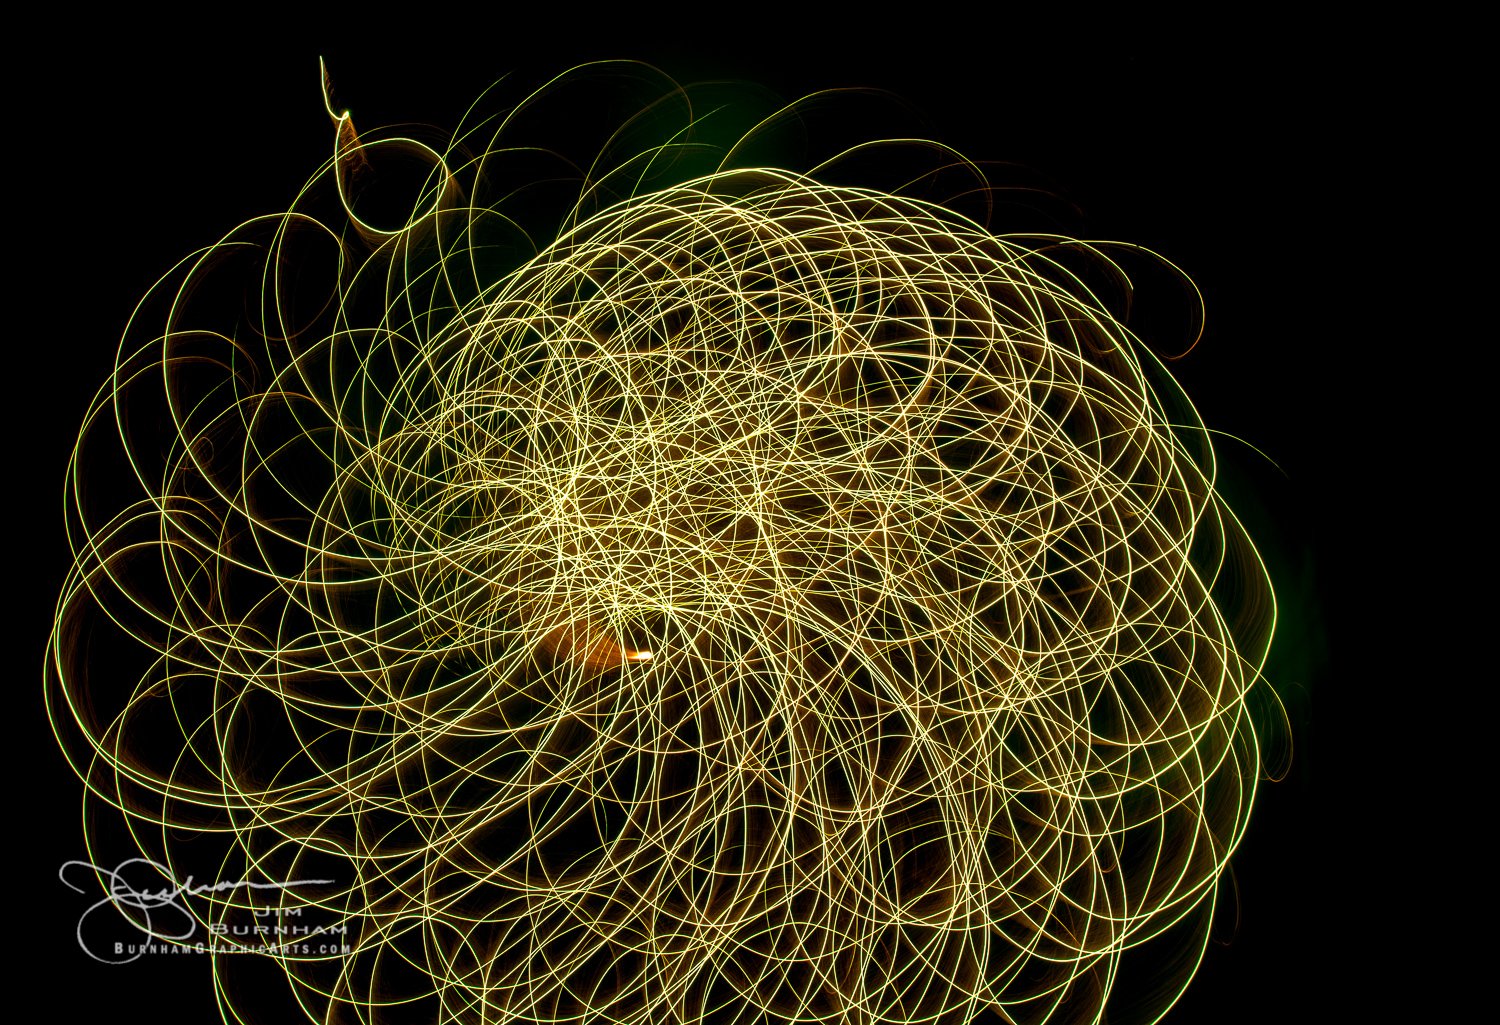
ISO100 22mm f8 3sec
At this point, do different things as you click the shutter, rotate the camera, move it up and down, side to side, zig-zag. Mix it up, these are like snowflakes. Honestly, you’ll have more duds than keepers, but when it works, it works! And, the results will never be replicated by anyone, not even you!
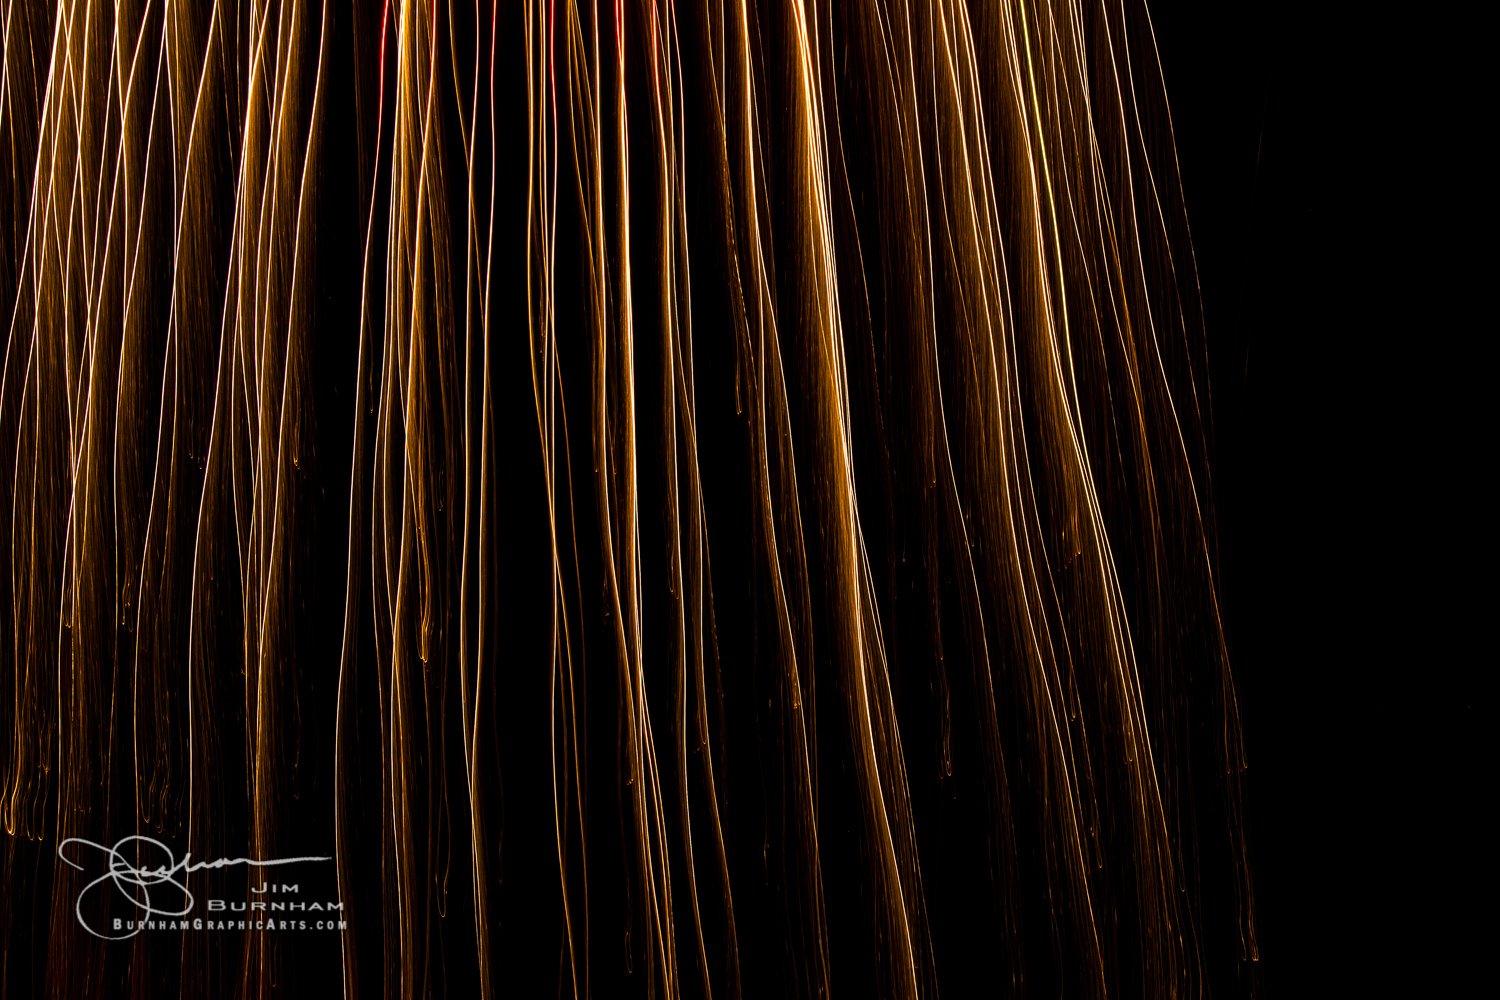
ISO100 44mm f11 3sec

ISO100 26mm f8 3sec
I hope you found this a fun escape from your normal photography routine. If you liked this post, please let me know and feel free to like and share!
Thanks for reading. If you made it this far, congratulations! Please like and share or comment and share or pass it on and share using the social links below. If you would like an email when new posts are added, add your email below. Follow me on Instagram or Twitter: @BurnhamArts

Great post Jim! Awesome pictures! I will have to try some of these tips when I get time. The pandemic has not slowed down my life at all here on the farm.
Thanks for posting these. I’ve tried a few of these in the past. Just have to practice until you find one you like. When you can’t get out ya gotta do something…..and agree – why is it that 76 degrees at home seems cold?
Pingback: Vol. XX – #159 – Busy Fishtown – The Leland Report
Really enjoyed!!
Thank you so much for all the tips & info… very helpful!
Love your pics!!!
Pingback: Vol. XX – #158 – Can’t Get Any Better – The Leland Report